What Paper Do You Use for Die Cutting?
Paper looks easy for die cutting. Then edges fuzz, labels curl, and parts tear during peel. Rework builds, operators slow, and shipments slip. That pain hits late, when packaging is ready. We prevent it by choosing paper for your surface, environment, and line format before you scale at full volume.
We use different paper grades for different die-cut jobs. Coated label papers print sharply and scan reliably. Kraft and uncoated papers add toughness when handling is rough. Paperboard supports inserts, covers, and spacers that must stay stiff. Specialty insulation papers work as heat or electrical barriers. The best paper is the one that survives your process window—cutting, waste stripping, peeling, placing—then survives humidity, heat, oils, and storage without curl, fuzz, tearing, or edge crush. We confirm with line-speed tests first.
Stay with us. We’ll link paper grades to real failure modes: curl, fuzz, tearing, lift, jams. You’ll get a spec checklist and validation steps that prevent expensive surprises in production.
Is paper even the right material for your die-cut part?
Paper is great when you need print clarity, cost control, and quick converting.
Paper is risky when you need moisture stability, ultra-clean assembly, or long outdoor life.
We decide by pain first.
Curl after storage.
Fuzz contaminating adhesive.
Tearing on the liner.
Warping that breaks fit.
Before we recommend any paper, we ask three inputs.
What surface does it touch?
What temperature and humidity does it live in?
How is it applied on your line?
Manual peel-and-place, jig, or applicator.
If those inputs are missing, suppliers guess.
Guessing becomes drift.
Drift becomes rework.
We also ask about supply format. Roll, sheet, or counted kits. The format changes curl risk and edge damage. A roll that ships fine can fail if it is stored on its side. A sheet that looks flat can warp after die cutting if stack pressure is wrong. These are boring details, but they decide whether your operators smile or swear during every shift.
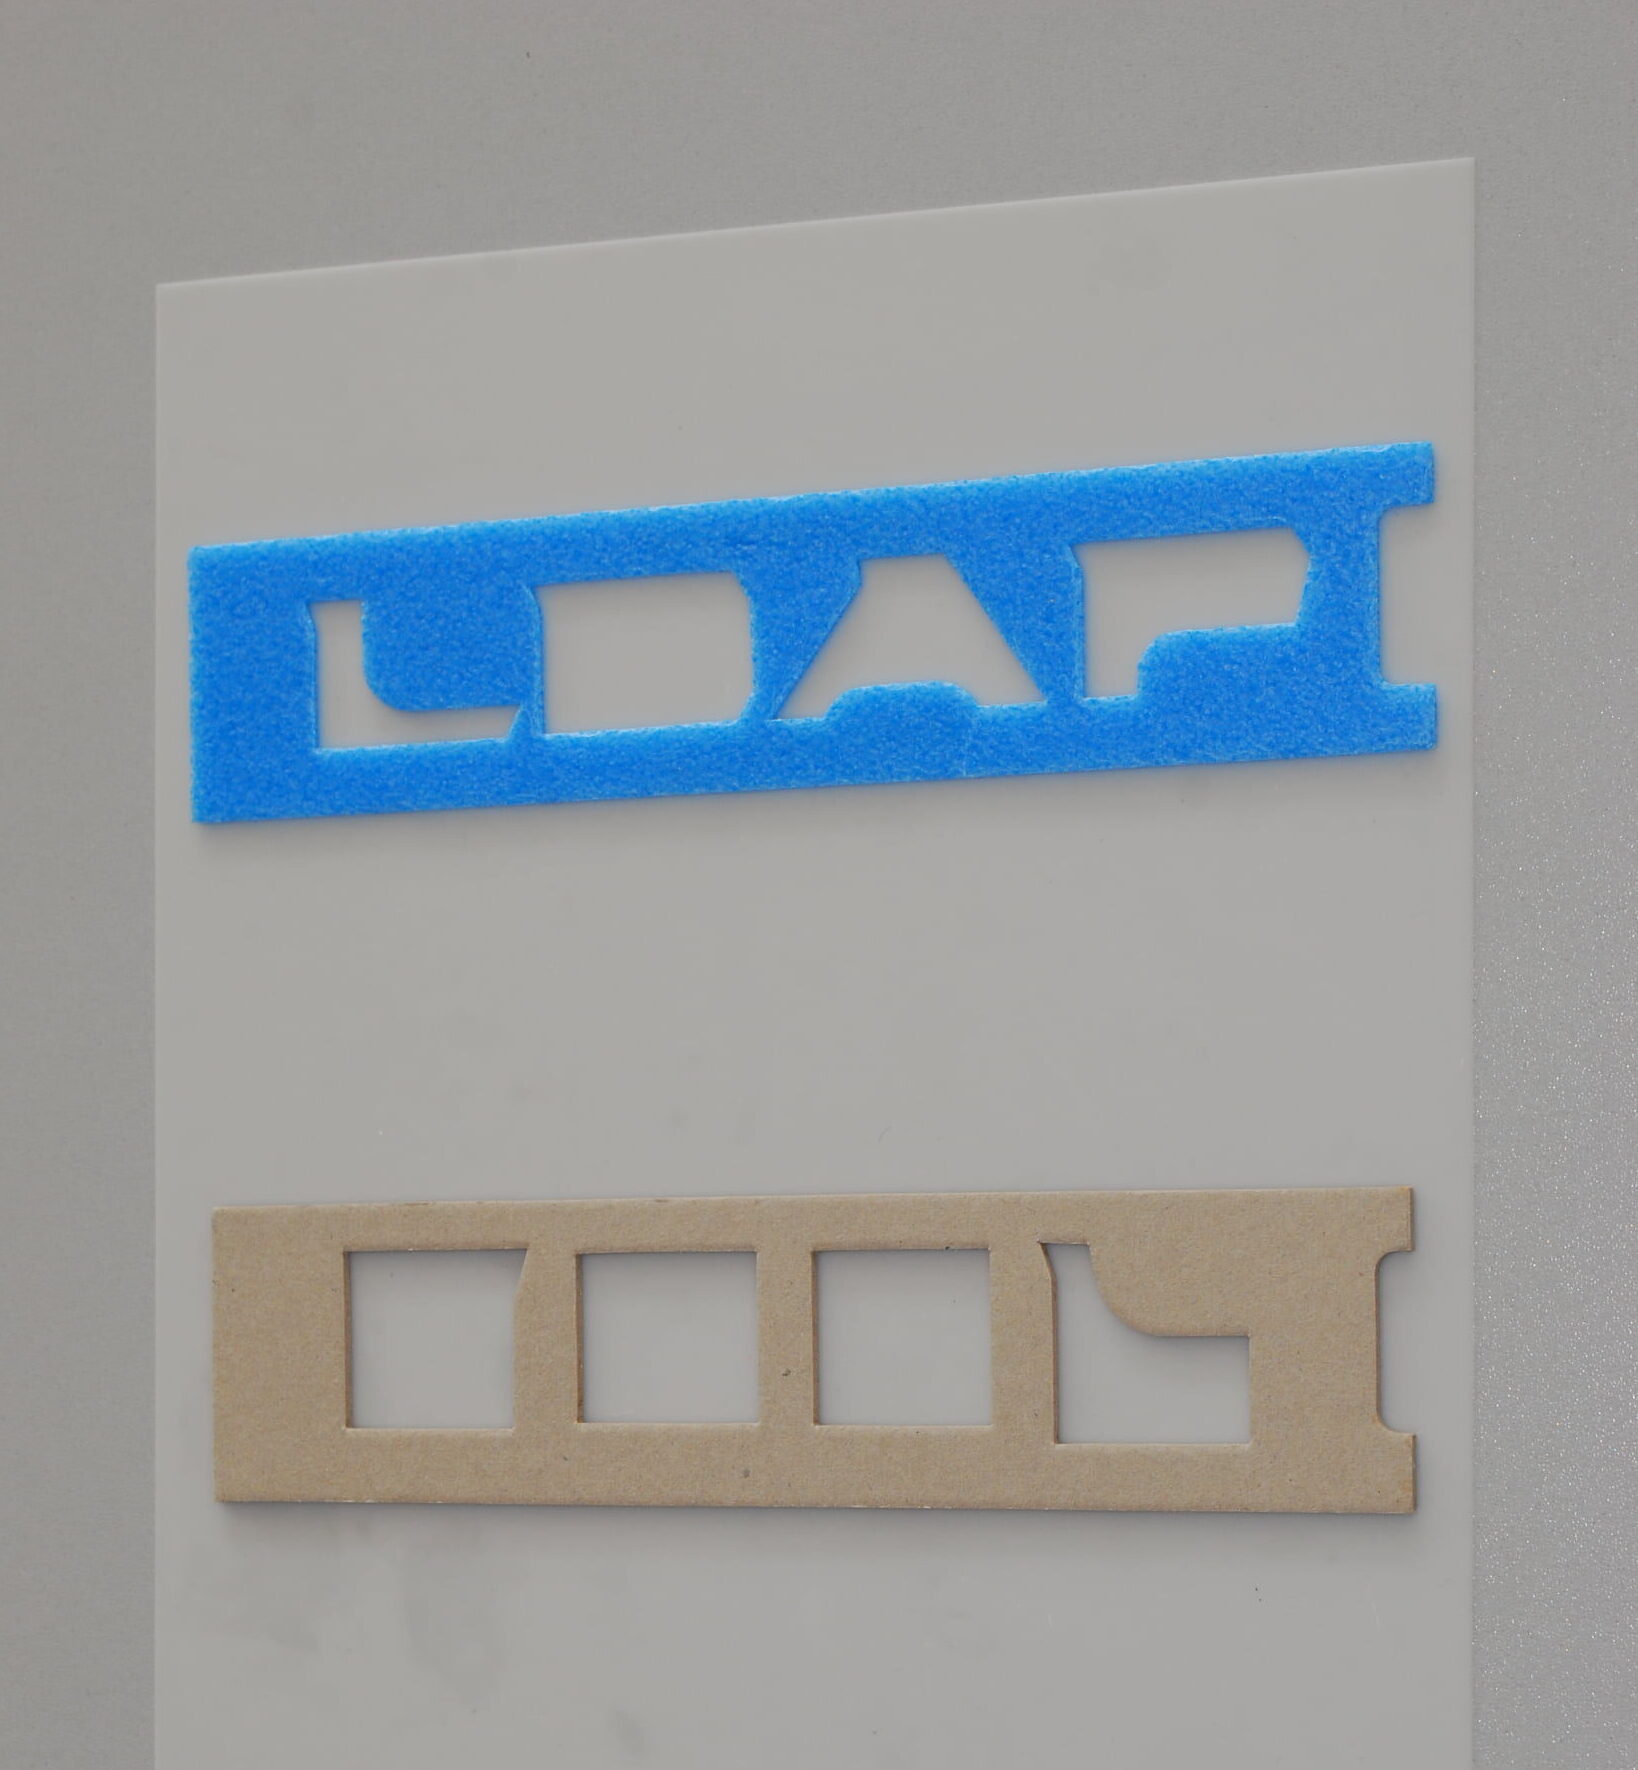
Which paper grades do we die cut most often?
Most projects fall into four families.
Coated label paper.
Best for barcodes, warnings, and branding labels.
Cuts clean when tooling is sharp and the coating matches the speed.
Fails as chipped edges when tooling is dull.
Kraft and uncoated paper.
Feels tougher and can resist tearing in handling.
Fails as fuzzy edges if the cut and stripping are not tuned.
Paperboard and cardstock.
Used for packaging inserts, covers, spacers, and structural sheets.
Fails as warp, edge crush, or dust shedding.
Specialty insulation papers.
Chosen for heat resistance or dielectric barriers.
Fail later if you skip aging and dimensional stability checks.
We do not pick by name.
We pick by failure mode.
How do coating, thickness, and grain direction change die-cut quality?
Thickness changes everything.
Thin papers tear more easily during peel.
They also curl faster when humidity shifts.
Thick papers increase stripping force.
They crack on tight radii.
They also increase die wear.
Coatings improve print and scan contrast.
But coatings chip when the die is dull or the line is pushed too hard.
Many “ragged edges” are coating plus tooling, not the press.
Grain direction is the quiet deal-breaker.
Long narrow parts tear across grain.
Curl direction often follows grain and roll storage.
If a part “worked yesterday” and curls today, check humidity and grain before blaming the cut.
Why do die-cut paper labels curl, tear, or lift at the corners?
Curl is usually moisture imbalance.
Paper absorbs and releases moisture.
If one side changes faster, the label bends.
Heat accelerates curl.
So does long storage.
So does tight winding on rolls.
Tearing during peel is usually a system issue.
Cut depth too deep scores the liner.
Release too tight forces operators to yank.
Peel angle amplifies tearing.
Corner lift is rarely “paper only.”
It is geometry plus adhesive plus surface.
Sharp corners lift first.
Stiff face stocks lift faster on curves.
Low-energy plastics wet out slowly and punish corners.
We fix lift with small moves.
Add corner radii.
Increase bonding land where stress lives.
Match adhesive to the actual surface.
Validate after time, not only immediately.
What tests should you run before ordering 50,000 die-cut paper parts?
Desk tests lie.
Production tests tell the truth.
Start with flatness.
Measure at time zero.
Measure again after 24 and 72 hours in your normal storage.
That reveals curl risk early.
Test peel at line speed.
Not slow, careful peeling.
The way operators peel during a real shift.
Test your environment.
Heat near motors.
Humidity in shipping.
Oil mist in industrial areas.
Cleaning wipes in appliances.
If the label must be removable, test removal after aging.
Test packaging.
Many failures are created in transit.
Edge crush.
Dust.
Rub marks.
Pre-dispense.
If you validate only “does it stick,” you will get burned.
When should you switch from paper to film, foam, or non-woven?
Switch when paper is the root cause of your failure.
If humidity curl kills placement accuracy, film is often safer.
If you need compression sealing, foam or rubber is the right category.
If fiber dust contaminates optics or adhesives, a cleaner construction wins.
Sometimes the best answer is a laminate.
Film plus adhesive plus paper.
Paperboard plus protection film.
Non-woven plus adhesive plus film.
That is converting, not just cutting.
Buyers like Mark want fewer suppliers.
One supplier building the stack and cutting the part reduces handoffs, variation, and arguments.
What should you send Sanken to quote and lock the right paper quickly?
Send the cut line or drawing.
Tell us roll or sheet.
Tell us part size and which edges are critical.
Tell us the job.
Label, insert, spacer, insulation barrier, or protective piece.
Tell us the environment.
Indoor packaging is not under-hood heat.
A clean electronics line is not a dusty appliance line.
Tell us the application method.
Manual, semi-auto, or applicator.
If applicator, share unwind direction, core size, pitch, and maximum roll diameter.
Tell us the pain you want to eliminate.
Curl.
Fuzz.
Tear.
Edge crush.
Slow placement.
When we know the pain, we engineer the fix into grade, geometry, and format.
Do die-cut paper parts always need steel rule tooling?
Not always. Thick board often uses steel rule tooling. High-volume roll work often uses rotary tooling. We choose based on volume, thickness, and edge quality risk.
Why do my die-cut edges look fuzzy?
Usually dull tooling, the wrong paper/coating match, or unstable stripping that tears fibers during waste removal.
Why do paper labels lift at corners?
Corner stress, sharp geometry, surface contamination, and adhesive mismatch. Fix geometry and adhesive together, then validate after 24–72 hours.
What do you need to quote fast?
A cut line, target thickness range, volume forecast, the surface it bonds to, the use environment, and how you apply and pack the parts.
Conclusion
We die cut coated label papers, kraft papers, paperboard, and specialty insulation papers based on your failure risks. Define surface, environment, and application method, then validate flatness and peel at line speed. Send us your cut line and conditions, and we’ll recommend a stable option.