What’s a Die Cut?
You approve a “simple” foam pad or adhesive shape and think the project is safe. Then corners lift, bubbles appear, and operators slow down. You lose days to rework and containment. That pain is real, and it’s expensive. A die cut exists to make small parts consistent at volume today.
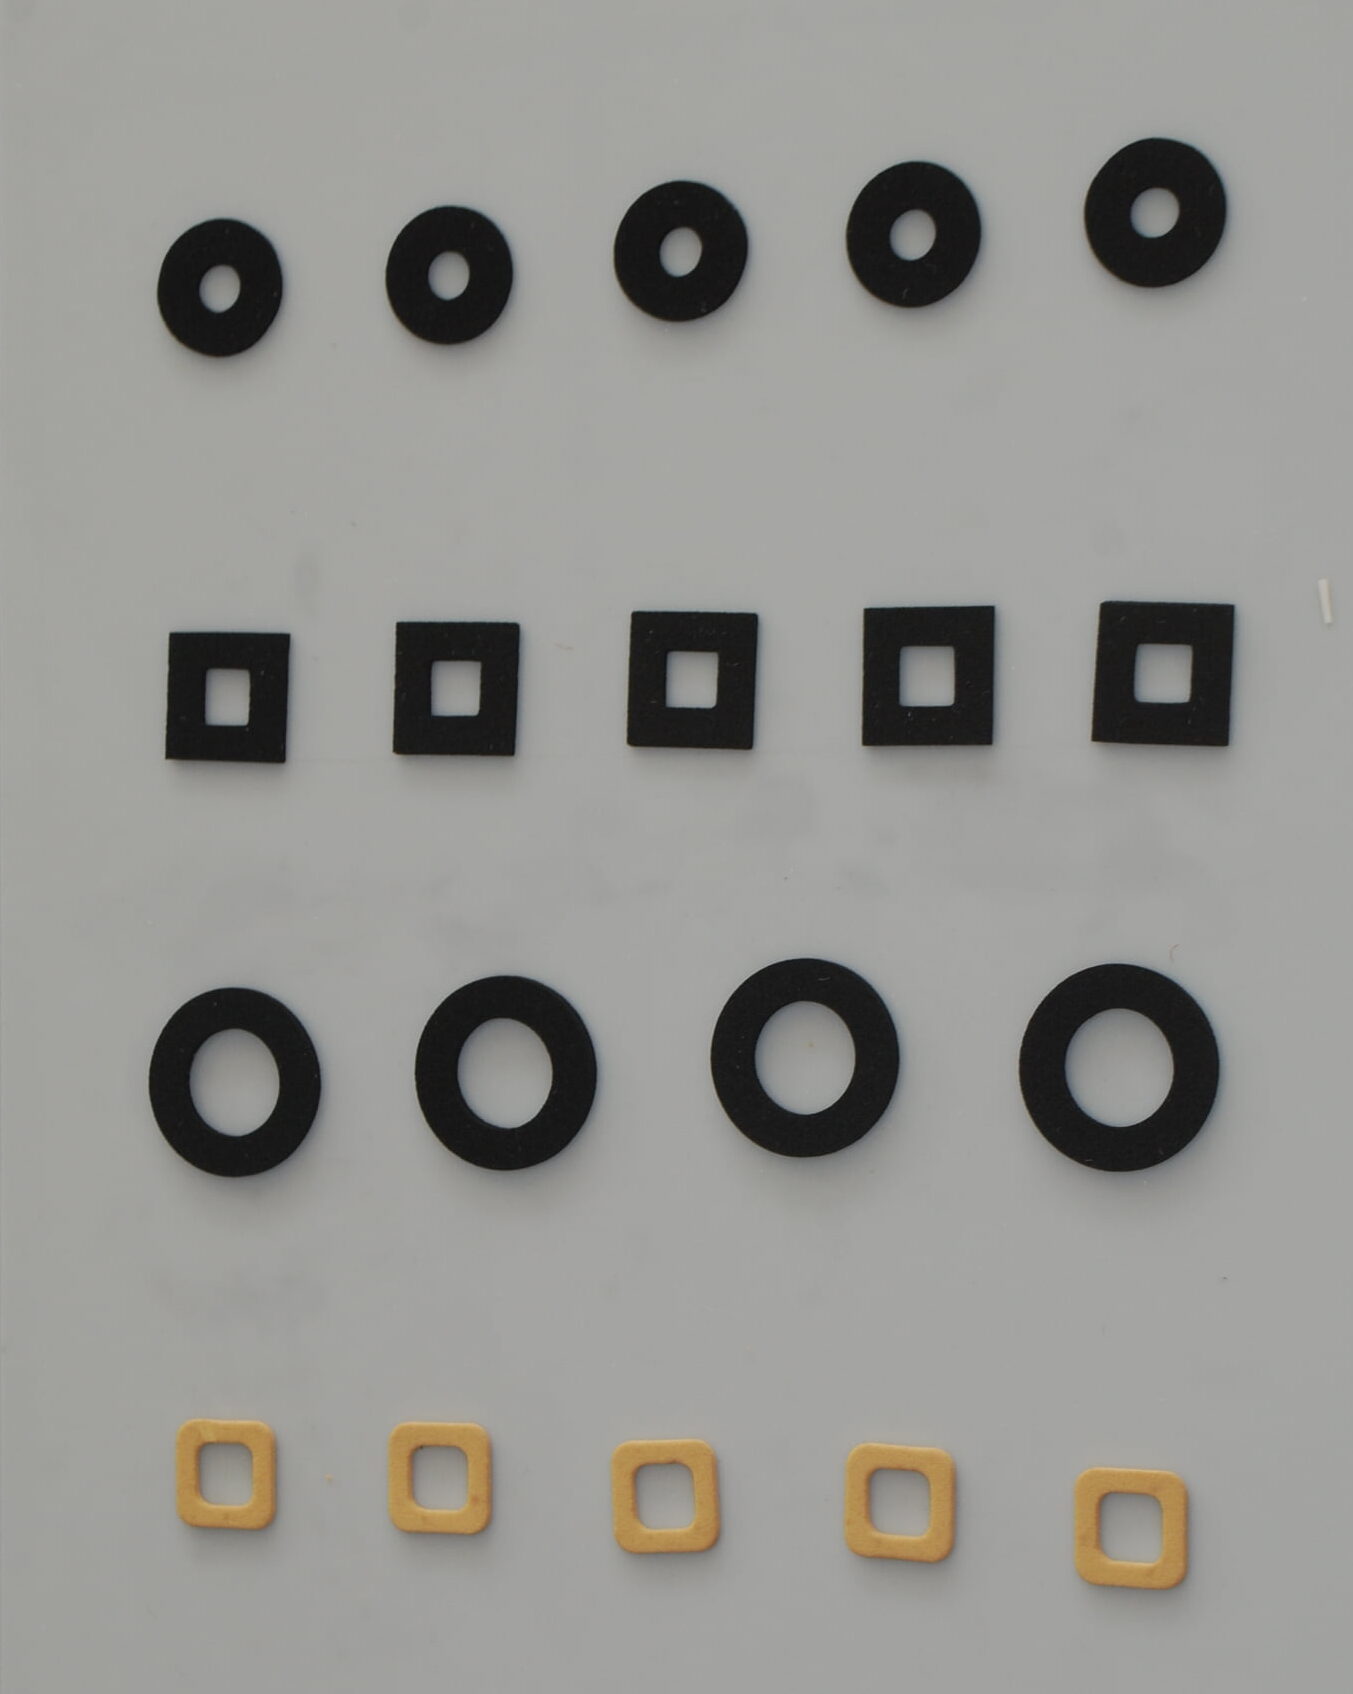
A die cut is a part made by cutting flat materials into a precise shape using controlled tooling and process settings. We convert rolls or sheets of foam, film, non-woven, rubber, and adhesive tapes into assembly-ready components like gaskets, seals, insulation pads, protection films, and bonding frames. The value is repeatability: stable fit, clean edges, predictable adhesion, and faster placement with fewer defects, fewer suppliers, less downtime, and calmer ramp-ups across lots and shifts for your team.
As an OEM buyer, you don’t pay for vocabulary. You pay for fit, adhesion, cosmetics, and line speed. We design for real shifts, real shipping, and real variation at scale.
What makes a die-cut part different from a regular sticker?
A sticker is usually about branding.
A die cut is usually about function.
Function means it has a job.
Seal a gap.
Stop dust.
Reduce rattle.
Insulate heat.
Protect a surface.
The pain starts when teams spec a functional part like a promo label.
Wrong adhesive system.
Wrong liner release.
No edge definition.
No application method.
Then the “sticker” fails in real life.
It lifts at corners.
It traps bubbles.
It leaves residue during rework.
We avoid that by naming the job clearly.
Call it a gasket, pad, seal, spacer, or protection film.
Now everyone specs it like a component, not a decoration.
Which functional die-cut parts show up in real products?
You see die-cut parts in places customers never notice.
Until something goes wrong.
In electronics, we see thin adhesive frames, insulation pads, dust barriers, and protection films.
A tiny misalignment can ruin cosmetics.
A tiny bubble can kill yield.
In automotive, we see sealing frames, anti-rattle tapes, vibration damping pads, and insulation layers.
If it squeaks, buyers complain.
If it leaks, programs panic.
In appliances, we see thermal barriers, cushion pads, sealing strips, and protective films.
If it shifts in shipping, the product looks damaged out of the box.
These parts also drive assembly speed.
If peel is hard, operators slow down.
If edges are fuzzy, inspectors reject more.
If the roll is inconsistent, applicators jam.
This is why “small parts” are risky.
They touch every unit.
A 1% defect becomes a daily fire.
Why do die-cut parts fail in production even when samples look perfect?
Samples hide variation.
Production reveals it.
Material lots change.
Films shrink with heat.
Foams compress and take set.
Adhesives wet out over hours, not minutes.
Handling adds dust and fingerprints.
Then you see the pattern.
Incoming inspection passes.
After 24–72 hours, edges lift.
After shipping vibration, bubbles appear.
During rework, residue becomes a nightmare.
Most “cutting problems” are actually specification problems.
No surface data.
No temperature range.
No storage time.
No placement method.
No definition of what “clean removal” means.
When we know the real conditions, we engineer the stack-up and format to survive them.
When we don’t, everyone guesses.
And guessing is expensive.
How do kiss-cut and through-cut change your assembly speed?
These words decide how your parts are supplied.
Supply format decides how fast you build.
Kiss-cut means we cut the top layer, but keep the liner intact.
You get peel-and-place parts that stay clean and registered.
Operators move faster.
Automation becomes possible.
Through-cut means we cut all the way through.
You get loose pieces.
Loose pieces invite dust, bending, and counting errors.
They also slow placement because orientation is inconsistent.
For production, we also care about release behavior.
Too tight, and peel hurts speed.
Too loose, and parts pre-dispense and fold.
Cut depth control matters, because nicked liners tear.
If your team is fighting “small parts,” format is often the hidden lever.
We design tabs, pitch, roll build, and kitting so placement feels easy at 2 a.m., not just at the sample table.
What information should you send us to quote a die-cut part accurately?
If you send a photo, you get a guess.
If you send the right data, you get a stable plan.
Send the cut line or drawing.
Send the full stack-up: face material, adhesive, liner, and thickness targets.
Tell us what it bonds to and how clean that surface is on the line.
Tell us the environment.
Heat range.
Humidity.
UV.
Chemicals.
Storage time before use.
Tell us the application method.
Manual peel-and-place.
Jig.
Semi-auto.
Full automation.
Tell us your CTQs.
Which dimensions control sealing, fit, or appearance.
And what defect is unacceptable on your line.
Then tell us your pain.
Lift.
Bubbles.
Residue.
Jams.
Slow placement.
We engineer backward from the pain because that’s where cost hides.
How do we validate die-cut parts in 30–90 days before you commit?
We validate like production people, not like brochure writers.
Week 1 is screening.
We check geometry risk, especially waste removal.
We check material availability and lead time.
We flag anything that will drift at speed.
Weeks 2–4 are proof.
We sample with the intended process and the intended format.
Not hand-cut mockups.
Not “close enough.”
We measure CTQs the same way you measure them.
During proof, we also verify peel direction, liner release, and cleanliness. We check edge quality under magnification, not just by eye. We run a simple application trial on real parts, with real pressure and dwell time. If your part must seal, we measure compression after assembly. If it must protect cosmetics, we check for scratches after packing. These checks catch problems before they reach your line. Before you approve volume.
Weeks 5–12 are pilot.
We run a small lot under production-like conditions.
We track placement time and defect rate.
We check edge lift after dwell time.
We confirm packaging protects corners and keeps parts clean.
Then we lock change control.
Same part number must mean the same stack-up, liner, and tool revision.
Silent changes create “random” failures that are not random.
Do die-cut parts always require tooling?
For stable high volume, yes. For early prototypes, we can iterate quickly, then lock tooling when the design is proven.
What’s the fastest way to reduce edge lift?
Start with geometry and stack-up. Add corner radii. Increase bonding land where stress lives. Then validate after 24–72 hours, not just immediately.
Can you deliver automation-ready parts?
Yes. We set pitch, unwind direction, roll build, and release behavior so your applicator runs smoothly and your operators stop fighting the liner.
Conclusion
A die cut is a precisely shaped functional part, not “just a sticker.” The main advantage is repeatability at scale: stable fit, clean edges, predictable adhesion, and faster assembly. Share your drawing, surface, and environment, and we’ll recommend a stack and format that holds.