

How Are Automotive Stamping Dies Made? The Hidden Engineering Behind Every Perfect Metal Part
Every car you see on the road is quietly shaped by something most people never think about—stamping dies.
They don’t look impressive at first glance. Heavy steel blocks. Machined surfaces. Tight tolerances.
But inside every door frame, bracket, reinforcement plate, or structural component, there is a story of precision engineering that starts long before mass production begins.
At Sanken, I often say this: a good stamping die doesn’t just cut metal—it defines whether a vehicle will assemble smoothly for the next 10 years or create endless production headaches.
Let’s break down how these critical tools are actually made.
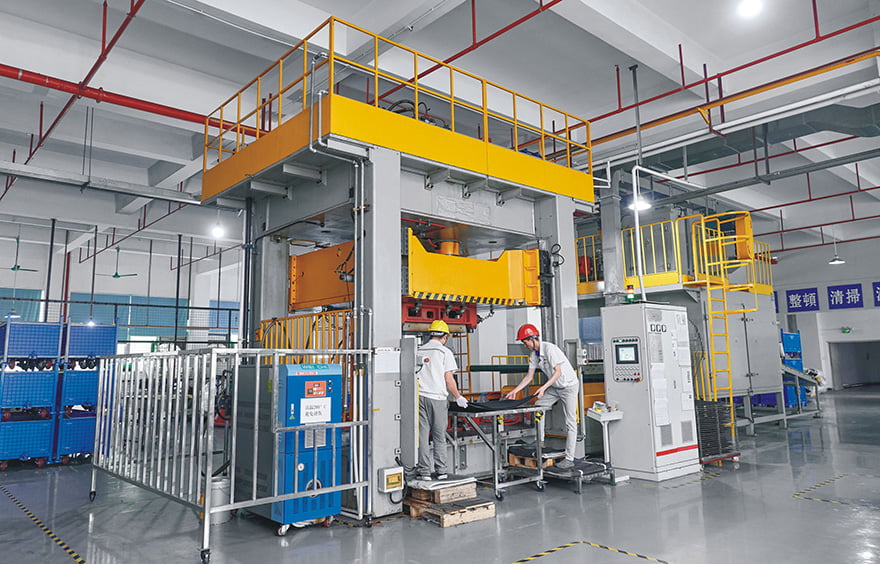
What exactly is an automotive stamping die?
A stamping die is a precision tool used in press machines to cut, form, punch, or shape sheet metal into specific automotive components.
Think of it as a “metal mold,” but instead of injecting material, it applies controlled force to reshape it.
Each die is designed for:
- cutting (blanking)
- forming (bending or shaping)
- piercing (creating holes or slots)
- deep drawing (3D forming)
In automotive production, dies must handle:
- high-volume production (millions of cycles)
- tight dimensional tolerances
- complex geometries
- high-strength steel or aluminum sheets
Step 1: Product design and feasibility analysis
Everything starts with the part itself.
Before any steel is cut, engineers analyze:
- part geometry
- material thickness and grade
- forming direction
- stress distribution
- springback behavior
- assembly requirements
This stage is critical because poor design decisions here will multiply into production issues later.
At this point, simulation tools are often used to predict:
- metal flow
- crack risk
- deformation accuracy
A small mistake in design = a very expensive die later.
Step 2: Die structure design (tool engineering stage)
Once the part is approved, die engineers design the tool system.
A stamping die is not a single piece—it is a system that may include:
- punch
- die block
- stripper plate
- guide pillars
- springs or nitrogen cylinders
- alignment systems
Engineers must decide:
- progressive die vs transfer die vs single-stage die
- station layout for multi-step forming
- force distribution across the tool
This is where experience matters most.
Because a die is not just geometry—it is mechanical behavior under pressure.
Step 3: Material selection and rough machining
Stamping dies are typically made from high-strength tool steels such as:
- D2
- SKD11
- H13
- or carbide inserts for extreme wear areas
The process begins with:
- cutting raw steel blocks
- CNC rough machining
- removing bulk material
- preparing near-final shape
At this stage, precision is not final yet. The focus is stability and structure.
Step 4: Heat treatment (hardening the die)
This is one of the most critical steps.
The die components are heat treated to achieve:
- high hardness (wear resistance)
- toughness (impact resistance)
- dimensional stability
If heat treatment is not controlled properly:
- the die may crack
- warp
- or lose accuracy during production
After heat treatment, parts are often re-machined to correct deformation.
Step 5: Precision machining and finishing
Now the die becomes a precision tool.
Processes include:
- CNC finishing
- EDM (electrical discharge machining)
- wire cutting
- grinding
- polishing
This stage defines:
- final tolerance accuracy
- surface finish quality
- cutting edge sharpness
Even microns matter here.
Because in automotive stamping, small deviations become big assembly problems.
Step 6: Assembly and alignment
All die components are assembled into a complete system.
Engineers carefully adjust:
- punch alignment
- clearance between punch and die
- guide pillar movement
- pressure balance
This is a highly manual and experienced-driven stage.
Even with perfect machining, assembly determines real-world performance.
Step 7: Trial stamping (tryout stage)
The die is installed into a stamping press and tested.
During tryout, engineers check:
- dimensional accuracy of parts
- material flow behavior
- burr formation
- springback effects
- surface quality
Adjustments are made repeatedly:
- grinding
- shimming
- polishing
- pressure tuning
A die is rarely perfect on first try.
It evolves.
Step 8: Final validation and mass production readiness
Once stable output is achieved, the die enters production approval.
At this stage:
- cycle stability is confirmed
- wear performance is evaluated
- maintenance intervals are defined
- production parameters are locked
Only then is the die released for mass automotive production.
Why stamping dies are so critical in automotive manufacturing
A single die can determine:
- part quality consistency
- assembly efficiency
- vehicle structural integrity
- long-term durability
In automotive engineering, stamping dies are not tools.
They are production foundations.
If the die is wrong, everything downstream suffers.
How Sanken connects to stamping die ecosystems
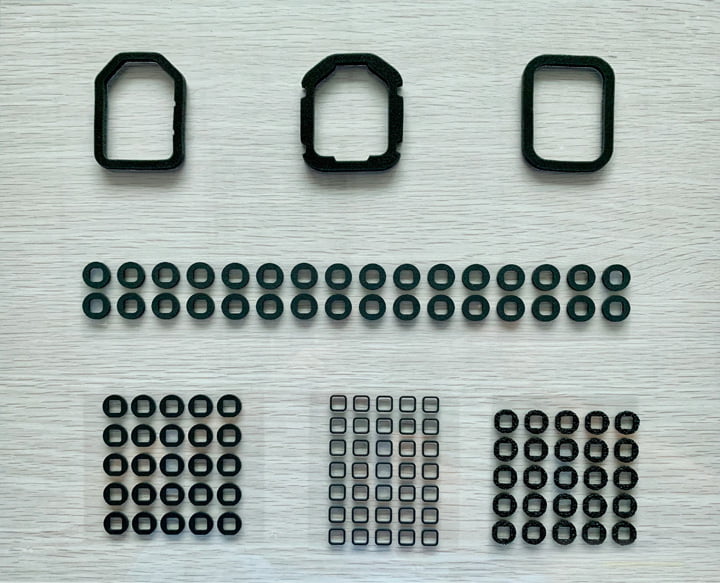
While Sanken focuses on precision die-cutting and material conversion, we often work alongside stamping processes in automotive supply chains.
Many stamped parts require:
- insulation pads
- foam gaskets
- acoustic layers
- adhesive bonding components
We support these systems by providing:
- precision die-cut non-metal parts
- multi-material lamination
- assembly-ready functional components
- tolerance-matched converting solutions
This ensures stamped metal parts and non-metal functional layers integrate seamlessly in final assemblies.
Conclusion
Automotive stamping dies are built through a long chain of engineering precision—from design and machining to heat treatment and final tuning.
They are not just tools.
They are the hidden infrastructure of every vehicle body you see on the road.
And behind every smooth-running production line, there is a die that was carefully designed, carefully built, and carefully perfected.