
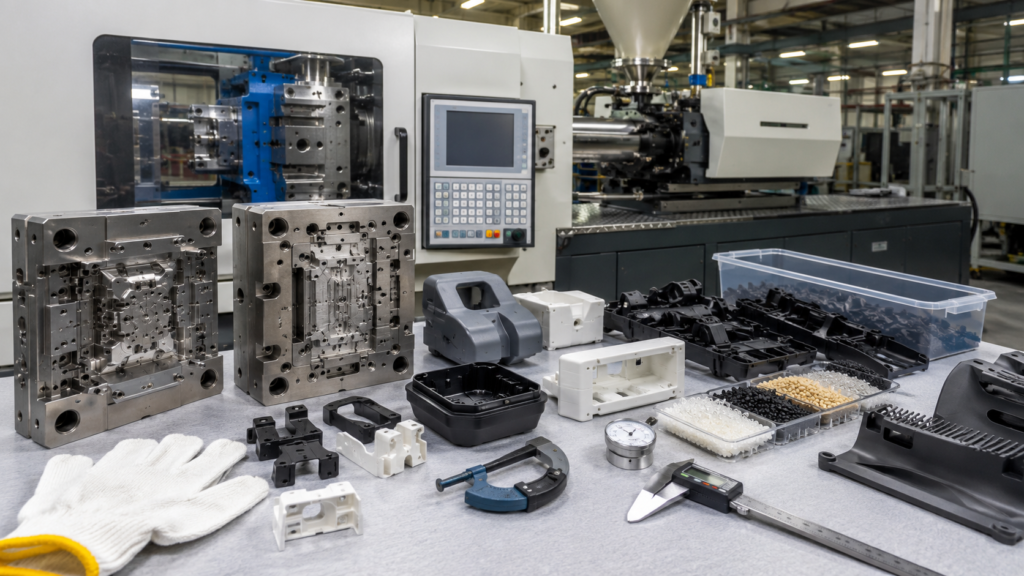
Injection molding is one of the most widely used manufacturing processes for OEM plastic parts because it can produce stable, repeatable, and cost-effective components at scale. From automotive electronic housings to appliance covers, medical device shells, industrial enclosures, clips, brackets, and custom plastic components, injection molding helps OEM manufacturers move from approved design to reliable mass production.
For OEM engineers and purchasing teams, injection molding is not only about melting plastic and forming a shape. A molded part must fit the final assembly, meet dimensional requirements, support surface and strength expectations, and work with related components such as foam gaskets, adhesive tape parts, PET insulation films, rubber pads, protective films, and non-woven felt strips.
At Sanken, we support OEM customers with custom injection molded plastic parts, precision die cut foam gaskets, adhesive tape components, PET and PI insulation films, rubber pads, protective films, non-woven felt parts, sealing components, and multilayer material converting for automotive, electronics, battery, appliance, medical device, and industrial applications.
Why Injection Molding Matters for OEM Plastic Parts
Injection molding is often selected when a project needs consistent plastic parts in medium or high volume. Once the mold is built and the process is stable, the same part can be produced repeatedly with controlled dimensions, material performance, and surface appearance.
Common OEM injection molded parts include:
- Plastic housings
- Covers and shells
- Brackets and clips
- Frames and panels
- Sensor housings
- Appliance components
- Automotive electronic enclosures
- Medical device plastic parts
- Industrial equipment components
The process is especially valuable when parts must be assembled with screws, clips, foam gaskets, adhesive tapes, insulation films, rubber pads, or protective films.
Step 1: Tooling and Mold Design
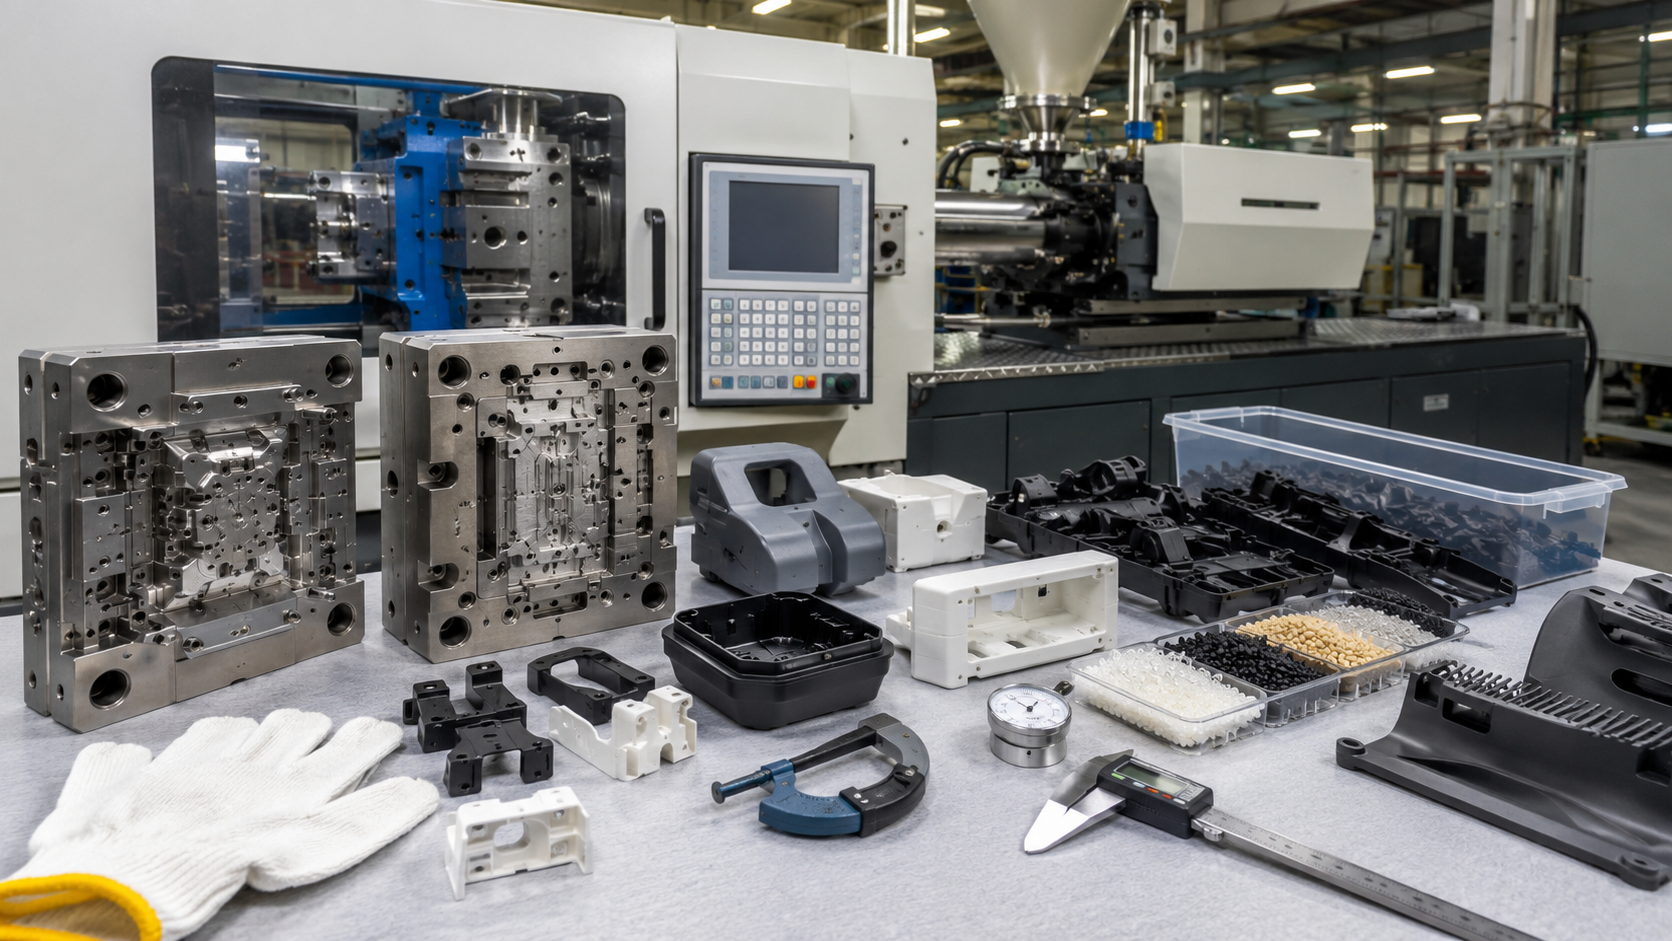
Injection molding starts with tooling. The mold is the core of the process because it determines the final shape, surface, tolerance, and production stability of the plastic part.
Before mold opening, the supplier should review the customer’s 2D drawing, 3D model, material requirement, surface requirement, and assembly condition.
Important tooling review points include:
| Tooling Factor | Why It Matters |
|---|---|
| Gate location | Affects material flow and surface appearance |
| Cooling design | Reduces warpage and shrinkage problems |
| Venting | Helps prevent burn marks and short shots |
| Ejection system | Prevents deformation during part removal |
| Shrinkage compensation | Helps achieve correct final dimensions |
| Parting line position | Affects appearance and flash control |
| Surface texture | Controls final part appearance |
| Cavity layout | Affects cost and production efficiency |
Poor mold design can create repeated problems such as warpage, sink marks, flash, short shots, weld lines, and unstable dimensions. For OEM projects, it is much cheaper to review these risks before tooling than to fix them after mold completion.
At this stage, related die cut components should also be considered. For example, if the plastic housing needs a foam gasket, the gasket groove depth and width should be checked before tooling. If a PET insulation film must align with posts or holes, the molded structure and film tolerance should be reviewed together.
Step 2: Material Selection and Preparation
The plastic material must match the function of the final part. Different materials have different strength, flexibility, heat resistance, chemical resistance, surface quality, shrinkage, and bonding behavior.
Common injection molding materials include ABS, PC, PP, PA, POM, PE, TPE, TPU, and other engineering plastics.
| Material | General Feature | Typical OEM Use |
|---|---|---|
| ABS | Good toughness and appearance | Housings, covers, appliance parts |
| PC | High impact resistance | Electronics covers, protective parts |
| PP | Lightweight and chemical resistant | Clips, automotive parts, containers |
| PA / Nylon | Strong and wear resistant | Brackets, connectors, mechanical parts |
| POM | Low friction and stable | Precision moving parts |
| TPE / TPU | Flexible and soft-touch | Seals, grips, flexible components |
Material selection should not be based only on price. A plastic housing used near heat may need better thermal stability. A cover bonded with adhesive tape may need surface compatibility. A part used with a foam gasket must maintain stable dimensions after molding.
Before molding, some resins also need proper drying and handling. Poor material preparation can lead to surface defects, bubbles, weak strength, color variation, or unstable quality.
Step 3: Injection Molding Production
After tooling and material preparation, the injection molding machine melts the plastic resin and injects it into the mold cavity under controlled pressure. The part then cools inside the mold before being ejected.
Key molding parameters include:
- Melt temperature
- Mold temperature
- Injection pressure
- Injection speed
- Holding pressure
- Cooling time
- Ejection timing
- Cycle time
- Resin drying condition
Stable process control is critical. Even with a good mold, poor machine settings can cause quality problems.
Common process-related defects include:
| Defect | Possible Cause |
|---|---|
| Warpage | Uneven cooling or poor pressure control |
| Sink marks | Thick sections or insufficient packing |
| Flash | Excessive pressure or poor mold fit |
| Short shot | Incomplete filling or poor venting |
| Weld lines | Material flow fronts meeting |
| Flow marks | Unstable injection speed or temperature |
| Burn marks | Poor venting or excessive heat |
| Color variation | Material or process inconsistency |
For OEM plastic parts, production should not only focus on output speed. It must also maintain stable dimensions, surface quality, and assembly performance.
Step 4: Inspection and Assembly Fit Testing
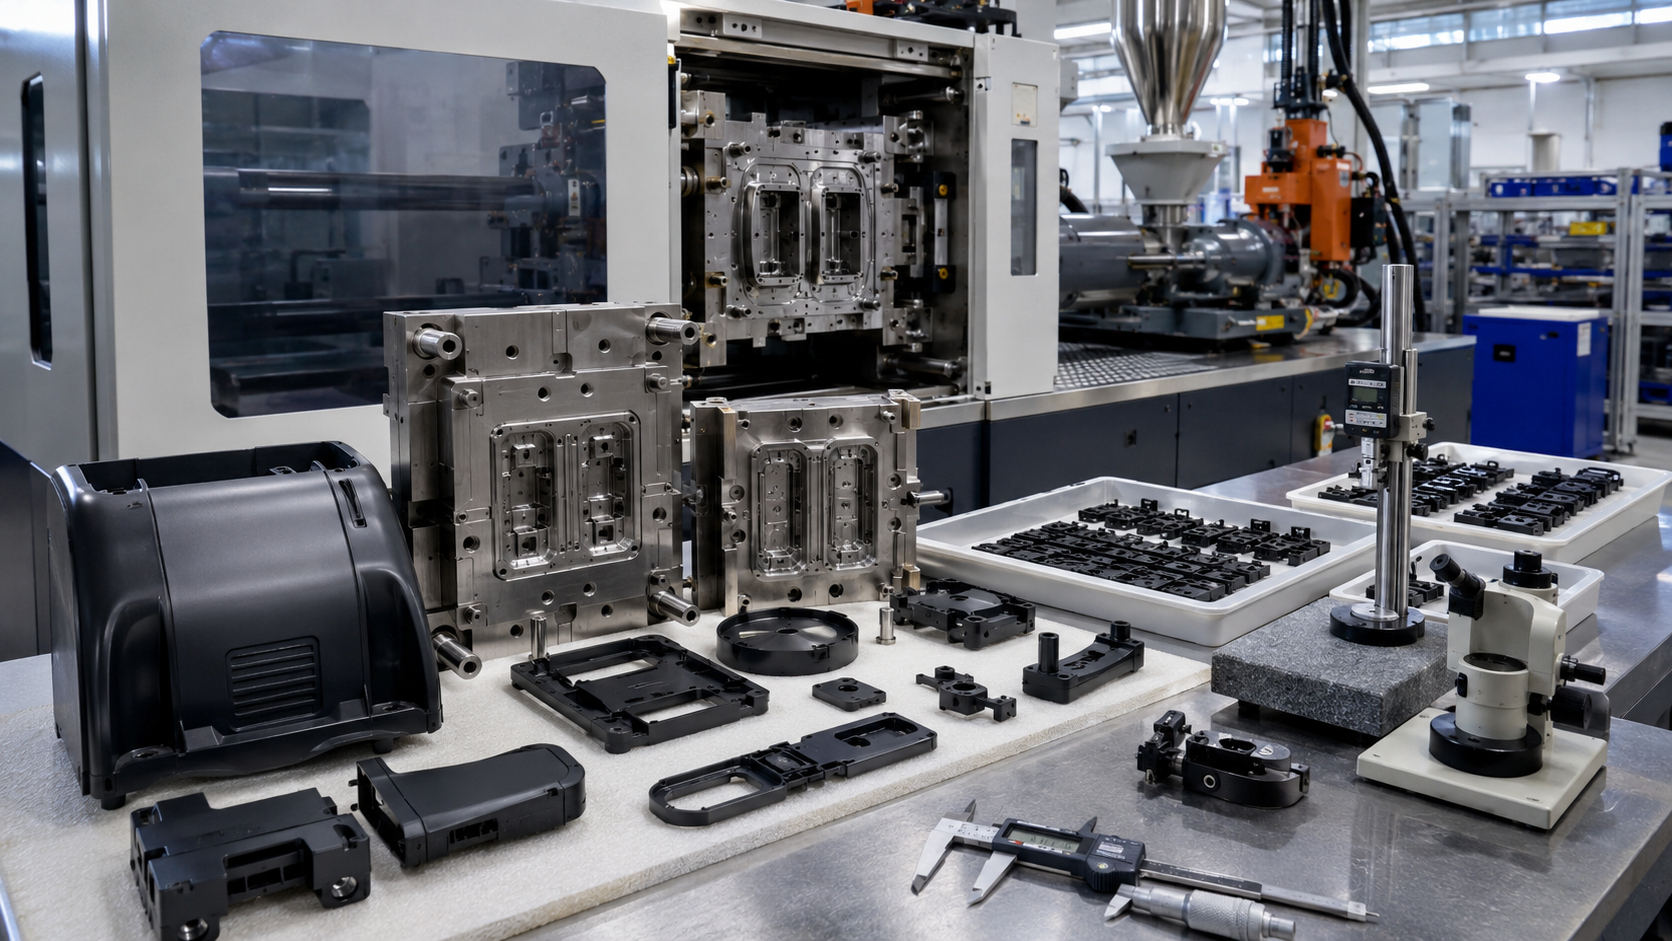
After molding, plastic parts must be inspected before approval and mass production release. Inspection should include both dimensional checks and real assembly fit.
Important inspection items include:
- Overall dimensions
- Hole position
- Screw boss size
- Clip strength
- Surface appearance
- Flash and burrs
- Warpage
- Shrinkage
- Color consistency
- Gasket groove size
- Adhesive bonding area
- Packaging condition
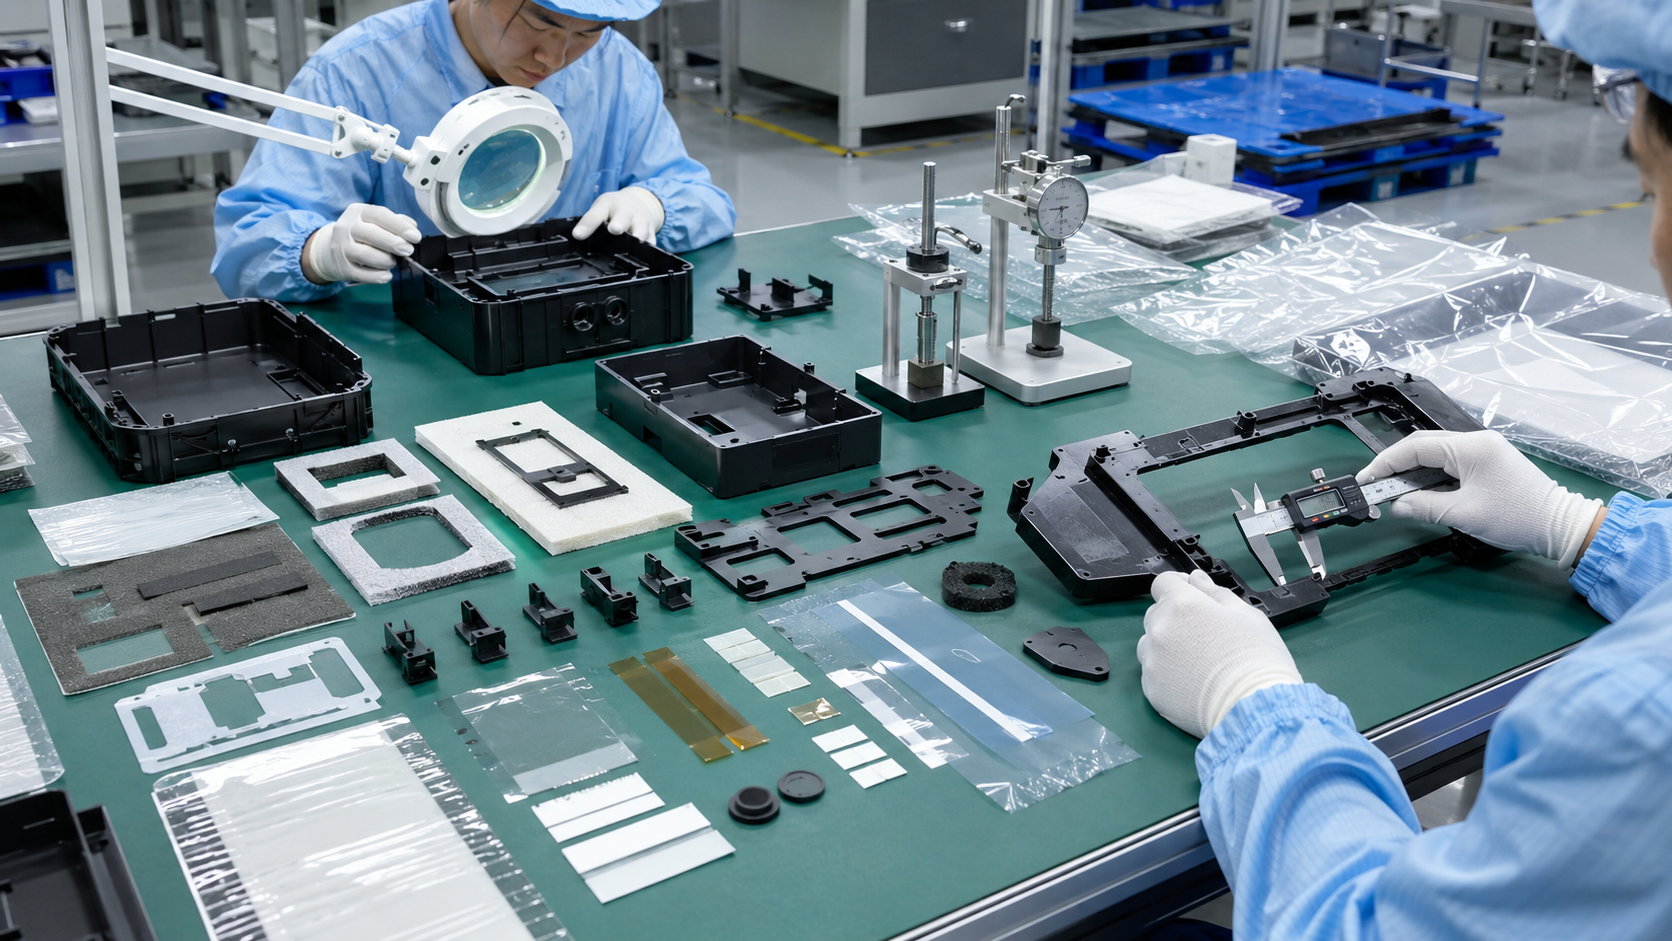
For OEM projects, critical-to-quality dimensions should be identified early. These usually include screw holes, positioning posts, connector openings, clips, gasket grooves, sealing surfaces, and areas where die cut components will be applied.
A molded plastic part may pass basic dimension inspection but still fail during final assembly if related components are not considered. For example, a foam gasket may not seal if the molded groove is warped. A PET film may not align if posts shift. An adhesive tape part may lift if the plastic surface is not compatible with the adhesive.
At Sanken, injection molded parts can be reviewed together with die cut foam, tape, film, rubber, felt, and protective components to reduce assembly mismatch.
Step 5: Mass Production, Packaging, and Delivery
Once samples are approved, the project moves into mass production. At this stage, consistency becomes more important than producing one good sample.
Mass production control should include:
- Incoming material confirmation
- First article inspection
- In-process inspection
- Final inspection
- Batch consistency review
- Packaging inspection
- Assembly-ready delivery format
Packaging is often overlooked, but it can affect final quality. Poor packaging may cause scratches, deformation, dust, mixed parts, bent clips, or damaged surfaces.
Packaging formats may include trays, bags, boxes, protective film covering, liner-backed sheets, kitted components, or assembly-ready packages. The best format depends on part shape, surface requirement, quantity, and assembly method.
For parts that work with die cut components, packaging should also protect foam gaskets, adhesive liners, PET films, rubber pads, and protective films from deformation or contamination.
Why Molded Parts and Die Cut Components Should Be Reviewed Together
Many OEM plastic parts require additional functional materials after molding.
Examples include:
| Injection Molded Part | Related Die Cut Component | Function |
|---|---|---|
| Automotive electronic housing | Foam gasket | Dust sealing and vibration reduction |
| Battery-related cover | PET or PI insulation film | Electrical insulation |
| Display frame | Double-sided tape | Bonding and positioning |
| Sensor housing | Light-blocking film | Optical shielding |
| Appliance panel | Rubber pad | Cushioning and damping |
| Medical device shell | Protective film | Surface protection |
| Interior plastic trim | Non-woven felt strip | Anti-rattle control |
If the molded part and die cut part are developed separately, problems may appear late in the project. A one-stop review helps reduce poor fit, repeated samples, adhesive lifting, insulation film mismatch, and packaging problems.
How Sanken Supports OEM Injection Molding Projects
Sanken Manufacturing Co., Ltd. supports OEM customers from tooling review to mass production with custom injection molded parts and related die cut component solutions.
Our support includes:
- Custom injection molded plastic parts
- Plastic housings, covers, clips, brackets, and enclosures
- Mold feasibility review
- Material selection support
- Trial sample review
- Precision die cut foam gaskets
- Adhesive tape components
- PET and PI insulation films
- Rubber pads and sealing parts
- Protective films
- Non-woven felt parts
- Multilayer material converting
- Assembly-ready packaging
For each project, we review plastic material, mold feasibility, tolerance, surface quality, foam gasket fit, adhesive bonding surface, PET film alignment, rubber compression, protective film coverage, packaging, and final assembly method.
Our goal is to help OEM customers reduce tooling changes, repeated samples, poor fit, inspection failure, adhesive problems, gasket mismatch, and unstable mass production.
FAQ
How does injection molding work?
Injection molding works by melting plastic resin, injecting it into a mold cavity, cooling the part inside the mold, and ejecting the finished plastic component.
What are the main steps in OEM injection molding?
The main steps are tooling and mold design, material selection, injection molding production, inspection and assembly testing, and mass production with packaging and delivery.
Why is tooling important in injection molding?
Tooling controls the final part shape, tolerance, surface quality, cooling, ejection, and production stability. Poor tooling can cause warpage, flash, sink marks, and dimensional problems.
What affects injection molded part quality?
Quality is affected by material, mold design, wall thickness, gate location, cooling, injection pressure, temperature, shrinkage, inspection standards, and packaging.
Why should injection molded parts be checked with die cut components?
Many molded plastic parts work with foam gaskets, adhesive tapes, PET films, rubber pads, protective films, and felt strips. Checking them together helps prevent assembly mismatch.
Can Sanken support injection molded parts and die cut components together?
Yes. Sanken supports custom injection molded plastic parts together with precision die cut foam gaskets, adhesive tape parts, PET and PI films, rubber pads, protective films, non-woven felt parts, and multilayer components.
Conclusion
Injection molding for OEM plastic parts works through a controlled process of tooling design, material selection, molding production, inspection, and mass production management. Each step affects final quality, cost, and assembly performance.
For OEM products, injection molded parts often need to work with die cut foam, tape, film, rubber, felt, and protective components. Reviewing these parts together helps reduce poor fit, sealing failure, adhesive lifting, repeated sampling, and production delays.
At Sanken, we help OEM customers develop custom injection molded plastic parts and related die cut components that are accurate, clean, assembly-ready, and stable from prototype review to mass production.