
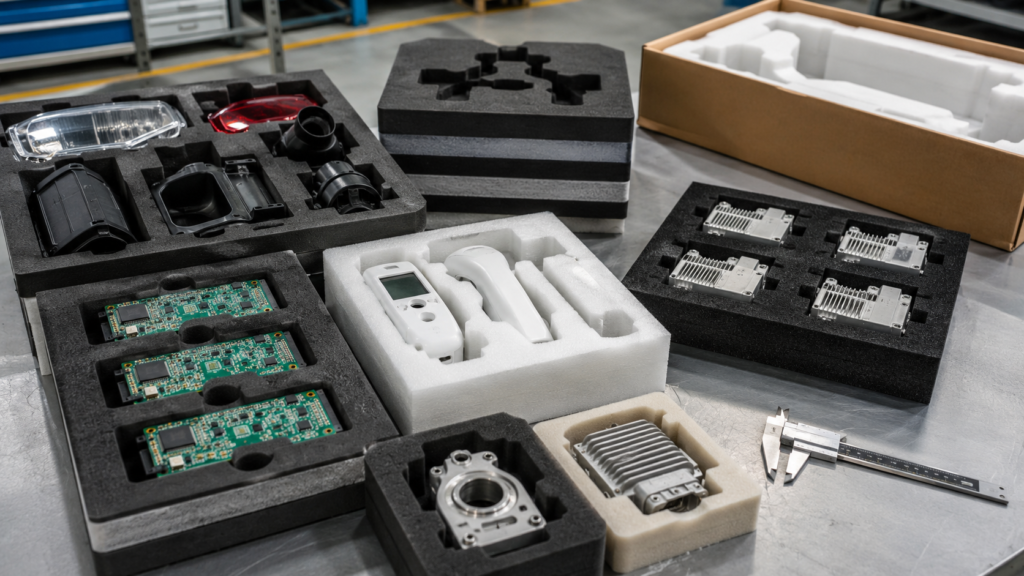
Custom die cut foam inserts are often used to hold, position, cushion, protect, and organize components during assembly. A good foam insert does more than protect a product during shipping. It can also help operators place parts faster, reduce assembly mistakes, improve repeatability, and prevent damage to sensitive surfaces.
For OEM buyers and engineers, the key question is not only how to cut foam into a custom shape. The better question is how to design the foam insert so that the product fits correctly, stays stable, can be removed easily, and supports real production workflow.
At Sanken, we help OEM customers develop custom die cut foam inserts, foam pads, adhesive-backed foam parts, protective films, PET insulation films, rubber components, non-woven felt parts, and precision material converting solutions for automotive, electronics, medical, battery, appliance, and industrial applications.
Why Assembly Fit Matters in Foam Insert Design
Assembly fit means the foam insert holds the product or component in the correct position without being too loose, too tight, too hard, or too fragile.
A foam insert with poor fit can create several problems:
- Parts move during handling
- Operators need extra time to align components
- Products are difficult to remove
- Foam walls tear during use
- Sensitive surfaces get scratched
- Components are compressed too much
- Small parts fall out of position
- Assembly trays become unstable
- Packaging looks unprofessional
- Rework increases before shipment
In OEM production, small fit problems can become large cost problems. If each operator spends extra seconds adjusting parts, the total assembly time increases. If parts move in the insert, the product may be scratched or damaged. If the insert is too tight, operators may force parts out and damage both the foam and the product.
A well-designed foam insert should make assembly easier, not slower.
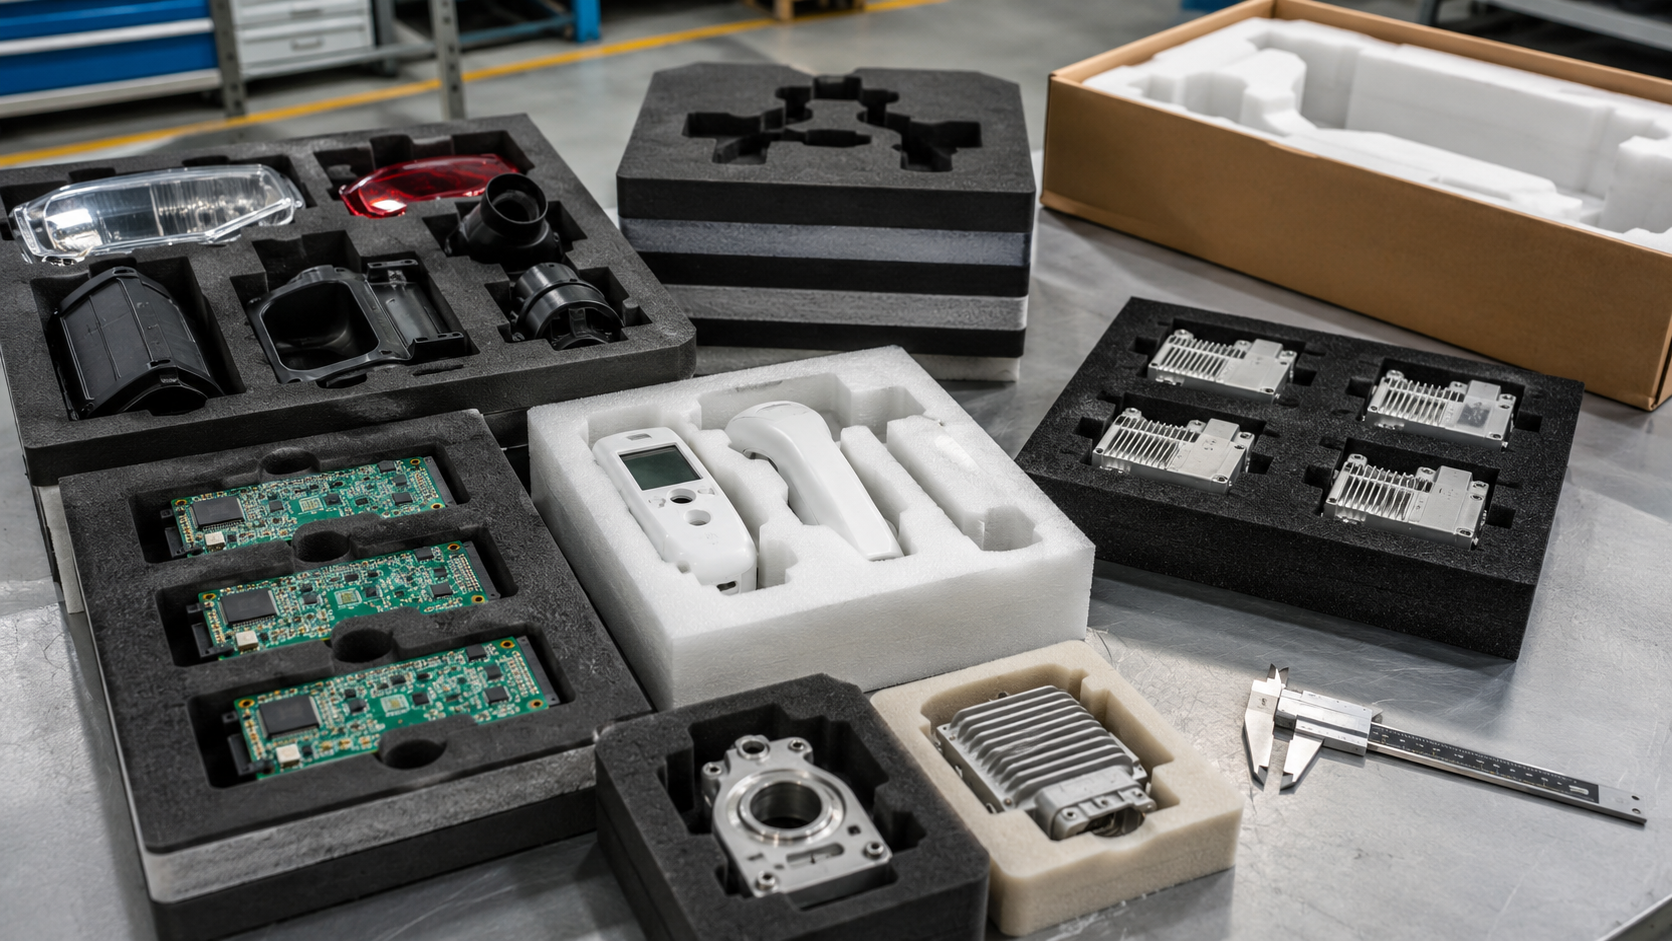
Start With the Product, Not the Foam
The first step is to understand the product that the foam insert must hold.
Before choosing EVA, PE, PU, EPDM, silicone foam, or other materials, engineers should review the product shape, weight, surface sensitivity, center of gravity, fragile areas, and handling method.
Important product details include:
| Product Detail | Why It Matters |
|---|---|
| Product size | Defines cavity dimensions |
| Product weight | Determines foam density and support strength |
| Surface finish | Helps prevent scratches, marks, or pressure dents |
| Fragile areas | Guides support position and pressure relief |
| Assembly direction | Determines how operators place and remove parts |
| Part tolerance | Affects cavity clearance |
| Sharp edges | May damage foam during insertion |
| Center of gravity | Affects stability inside the insert |
| Quantity per tray | Affects cavity layout and spacing |
A foam insert should support the product where support is needed, not randomly around the outline. For example, a delicate electronic module may need support under stronger housing areas instead of pressure on a sensor, lens, connector, or thin cover.
Choose the Right Foam Material
Different foam materials provide different levels of cushioning, compression, strength, surface protection, and durability.
| Foam Material | Key Features | Typical Use |
|---|---|---|
| EVA foam | Firm, durable, good shape stability | Tool inserts, electronics, industrial kits |
| PE foam | Lightweight, clean, closed-cell structure | Protective packaging, trays, transport inserts |
| PU foam | Soft, compressible, good cushioning | Delicate products and soft protection |
| EPE foam | Lightweight and cost-effective | General packaging inserts |
| EPDM foam | Weather-resistant, flexible | Automotive and outdoor-related parts |
| Silicone foam | Heat-resistant, stable compression | Electronics, battery, high-temperature areas |
| CR foam | Balanced cushioning and sealing | Industrial and automotive applications |
For better assembly fit, foam material should be chosen based on the product and workflow.
A heavy metal component may need higher-density EVA or PE foam to hold it firmly.
A delicate plastic housing may need softer PU or PE foam to avoid pressure marks.
An automotive component may need EPDM or CR foam if durability, compression, or environmental resistance is important.
An electronic or battery-related part may need clean foam, protective film, or additional surface protection.
The best foam is not always the softest foam. It is the material that supports the product correctly without creating damage or movement.
Control Cavity Clearance
Cavity clearance is one of the most important design factors for assembly fit.
If the cavity is too loose, the part moves.
If the cavity is too tight, the operator struggles to insert or remove the part.
The correct clearance depends on product tolerance, foam softness, product weight, operator handling, and whether the insert is used for storage, shipping, or active assembly.
For soft foam, a slightly tighter cavity may still work because the foam compresses.
For firm foam, more clearance may be needed.
For fragile parts, avoid tight pressure on sensitive surfaces.
For parts that must be removed quickly, add finger notches or access gaps.
Good cavity design should answer three questions:
- Can the operator place the product quickly?
- Does the product stay stable after placement?
- Can the product be removed without force or damage?
If the answer to any of these is no, the cavity design needs adjustment.
Use Finger Notches and Access Features
A common mistake in foam insert design is creating a perfect product-shaped cavity with no removal space.
The product fits well, but operators cannot remove it easily.
Finger notches, thumb cuts, side gaps, or lift points can solve this problem.
Useful access features include:
- Finger notches on one or two sides
- Half-moon cut-outs
- Pull gaps
- Step cavities
- Lift channels
- Corner relief cuts
- Tab areas
- Clearance around non-critical edges
These features improve assembly speed and reduce damage.
For small components, the notch should be large enough for practical use. For heavy components, the insert may need two access points so operators can lift the part evenly.
For sensitive products, the access feature should avoid placing stress on fragile areas.
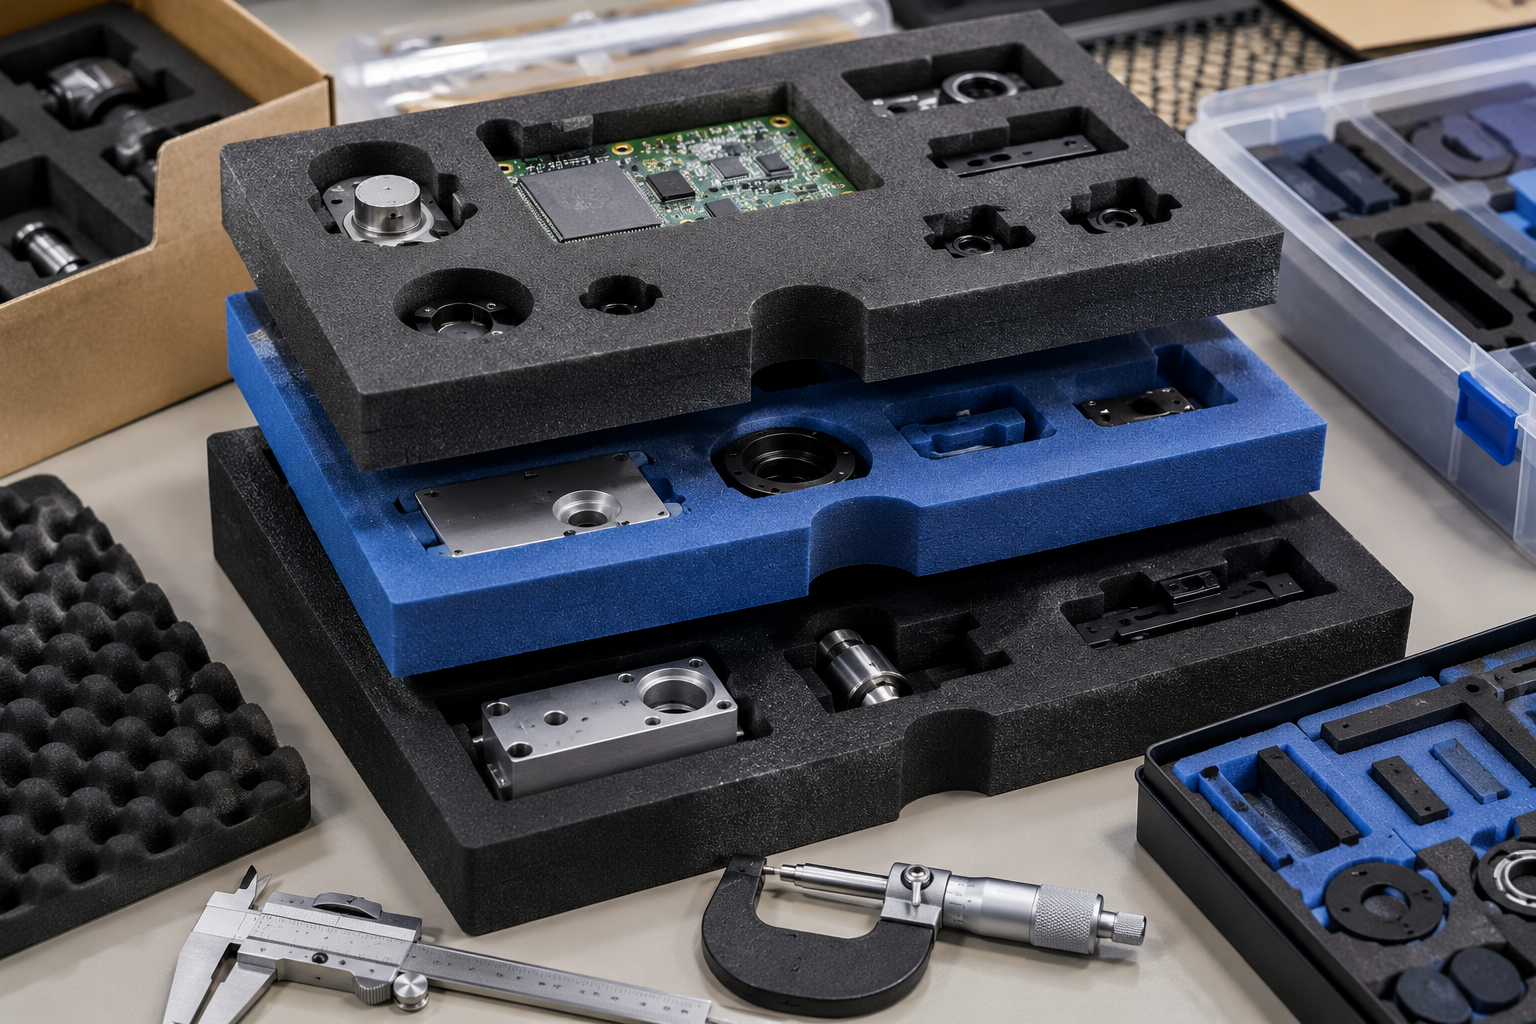
Design Enough Wall Thickness Between Cavities
When multiple parts are placed in one foam insert, the wall between cavities must be strong enough.
If the wall is too thin, it may tear during die cutting, waste removal, assembly, or repeated use.
Thin walls can also deform, making the cavity loose over time.
Wall thickness depends on foam type, density, cavity depth, product weight, and insert size. Softer foam usually needs wider walls. Deeper cavities also need stronger sidewalls.
Engineers should avoid:
- Very thin bridges
- Sharp internal corners
- Long unsupported foam strips
- Narrow walls between heavy parts
- Small isolated foam islands
- Deep narrow slots that are hard to cut cleanly
Rounded internal corners can improve foam strength and reduce tearing.
A slightly wider wall may increase material use, but it can reduce rework, damage, and customer complaints.
Consider Layered Foam Inserts for Complex Parts
Some products cannot be supported well by a single flat foam layer.
Layered foam inserts are often better for complex shapes, different heights, fragile components, or premium packaging.
A layered insert may include:
- Bottom support layer
- Middle cavity layer
- Top protection layer
- Adhesive-backed foam layer
- Protective film layer
- Soft contact layer
- Separate accessory layer
Layered foam can create stepped cavities, deeper pockets, and better product support.
For example, an electronic module with connectors may need a deeper cavity in one area and shallow support in another. A medical device shell may need soft surface protection on top of a stronger positioning layer. A tool kit may need different cavity depths for different tools.
Layered design improves fit, but it also increases process complexity. Adhesive lamination, alignment, total thickness, and packaging format should be reviewed before production.
Match Foam Hardness to Assembly Pressure
Assembly fit is closely related to compression.
If foam is too soft, the product may sink, tilt, or move.
If foam is too hard, the product may get pressure marks or become difficult to insert.
The foam should compress enough to hold the product, but not so much that it creates stress.
Important compression-related questions include:
- Will the product stay in the insert during movement?
- Will the foam press against sensitive surfaces?
- Will the insert be stacked under weight?
- Will the foam recover after repeated use?
- Will the part be stored for a long time under compression?
- Will the foam touch painted, polished, coated, or optical surfaces?
For assembly trays, foam recovery matters because operators may use the insert repeatedly.
For one-time packaging, protection and presentation may matter more.
For automotive or electronics applications, compression behavior should be tested under real handling and storage conditions.
Review Die Cutting Tolerance Early
Foam is flexible, so tolerance must be realistic.
A rigid metal or plastic part may hold very tight dimensions, but foam can compress, rebound, stretch, or deform slightly during cutting.
Tolerance depends on foam type, thickness, density, cutting method, part size, cavity width, and tooling condition.
Common tolerance-related risks include:
- Cavities too tight
- Cavities too loose
- Hole misalignment
- Uneven cavity walls
- Poor fit between foam layers
- Product tilt after placement
- Inconsistent fit between batches
Before mass production, engineers should test real samples with the actual product.
A drawing fit is not enough. The foam insert must be checked in physical assembly.
When Adhesive Backing Is Useful
Some custom die cut foam inserts need adhesive backing to stay fixed inside a box, tray, housing, panel, or assembly fixture.
Adhesive-backed foam inserts are useful for:
- Packaging boxes
- Assembly trays
- Protective pads
- Anti-slip pads
- Automotive interior components
- Electronic housings
- Tool organizers
- Industrial equipment protection
However, adhesive adds new design requirements.
The adhesive must match the bonding surface. The release liner must peel smoothly. The die cutting process must control kiss cutting depth. The adhesive should not overflow at the edge.
If adhesive-backed foam is difficult to peel or place, it can slow assembly instead of improving it.
For OEM projects, adhesive selection should be tested with the real bonding surface before mass production.
Common Foam Insert Design Mistakes
| Mistake | Result |
|---|---|
| Cavity too tight | Difficult insertion and removal |
| Cavity too loose | Product movement and damage |
| No finger notch | Slow assembly and forced removal |
| Thin foam walls | Tearing and poor durability |
| Wrong foam density | Poor cushioning or pressure marks |
| Sharp internal corners | Foam tearing and stress concentration |
| No product surface review | Scratches or cosmetic damage |
| Unrealistic tolerance | High rejection or poor fit |
| Poor packaging format | Deformation before use |
| No real assembly test | Problems appear during production |
Most of these problems can be prevented during design review.
The best foam insert design is tested with the real product, real operator movement, real packaging, and real production conditions.
How Sanken Helps Improve Foam Insert Fit
Sanken Manufacturing Co., Ltd. supports OEM customers with custom die cut foam inserts, foam pads, adhesive-backed foam components, protective films, PET films, rubber parts, non-woven felt components, and multilayer material converting.
For foam insert projects, we review:
- Product size and weight
- Foam material
- Foam density
- Foam thickness
- Cavity design
- Finger notch design
- Wall thickness
- Layer structure
- Adhesive backing
- Die cut tolerance
- Edge quality
- Packaging format
- Assembly workflow
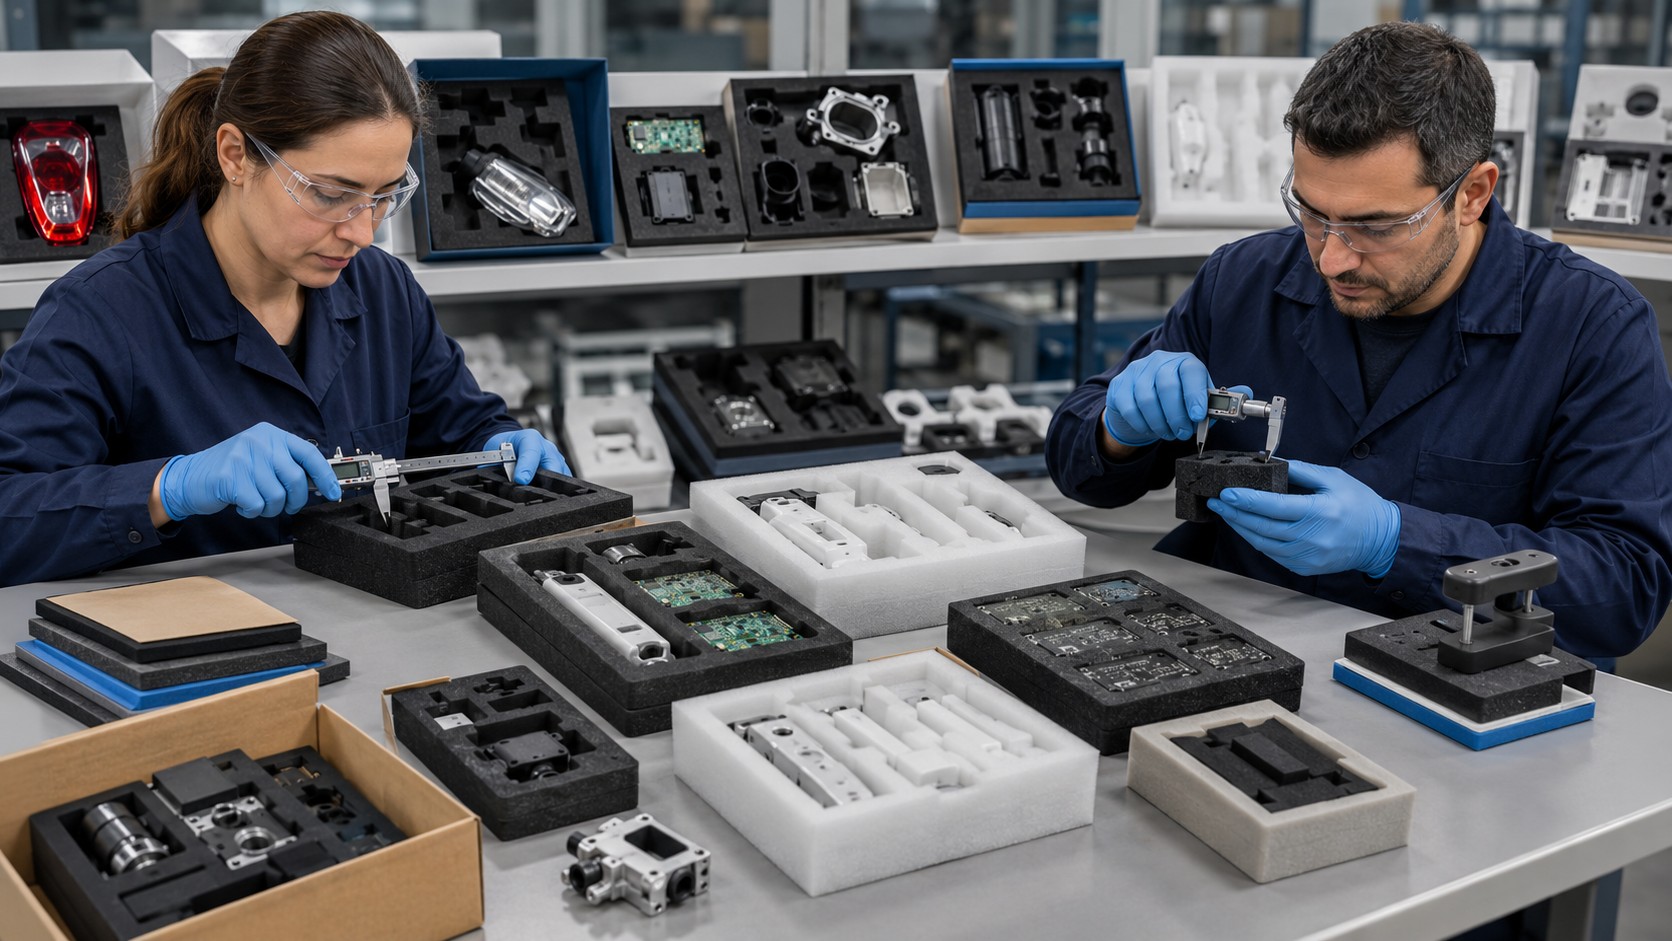
For electronics customers, we help design inserts that protect sensitive parts and improve handling.
For automotive customers, we support foam pads, inserts, anti-rattle parts, cushioning parts, and assembly support components.
For medical, appliance, battery, and industrial customers, we focus on clean cutting, stable dimensions, product protection, and efficient kitting.
Our goal is to help customers reduce poor fit, product movement, surface damage, repeated sampling, assembly delay, and packaging complaints.
FAQ
What is a custom die cut foam insert?
A custom die cut foam insert is a foam component cut into a specific shape with cavities, slots, holes, or layers to hold, protect, cushion, position, or organize products and components.
What foam is best for assembly inserts?
The best foam depends on the product. EVA foam is firm and durable. PE foam is lightweight and clean. PU foam is soft and compressible. EPDM and silicone foam are useful for special automotive, sealing, or temperature-related applications.
How tight should a foam insert cavity be?
The cavity should be tight enough to hold the product but loose enough for easy insertion and removal. The correct clearance depends on foam density, product tolerance, surface sensitivity, and assembly method.
Why are finger notches important?
Finger notches make the product easier to remove from the insert. They reduce operator force, prevent product damage, and improve assembly speed.
Can foam inserts be adhesive-backed?
Yes. Foam inserts can be laminated with pressure-sensitive adhesive and supplied on release liner for easy placement inside boxes, trays, housings, or fixtures.
Why do foam insert walls tear?
Foam walls may tear because they are too thin, the foam density is too low, the cavity is too deep, the internal corners are too sharp, or the cutting process is not suitable.
What should buyers provide before ordering custom foam inserts?
Buyers should provide product drawings or samples, product weight, surface sensitivity, packaging size, cavity requirements, foam preference, thickness, quantity, adhesive needs, and assembly method.
Conclusion
Designing custom die cut foam inserts for better assembly fit requires more than cutting foam into a product shape. Engineers must consider product weight, surface sensitivity, foam material, density, cavity clearance, finger notches, wall thickness, layered structure, adhesive backing, tolerance, and real assembly workflow.
A good foam insert should protect the product, hold it securely, allow easy removal, reduce operator mistakes, and support efficient production.
At Sanken, we help OEM customers design and produce custom die cut foam inserts and related precision components that improve product protection, assembly fit, handling efficiency, and mass production stability.