
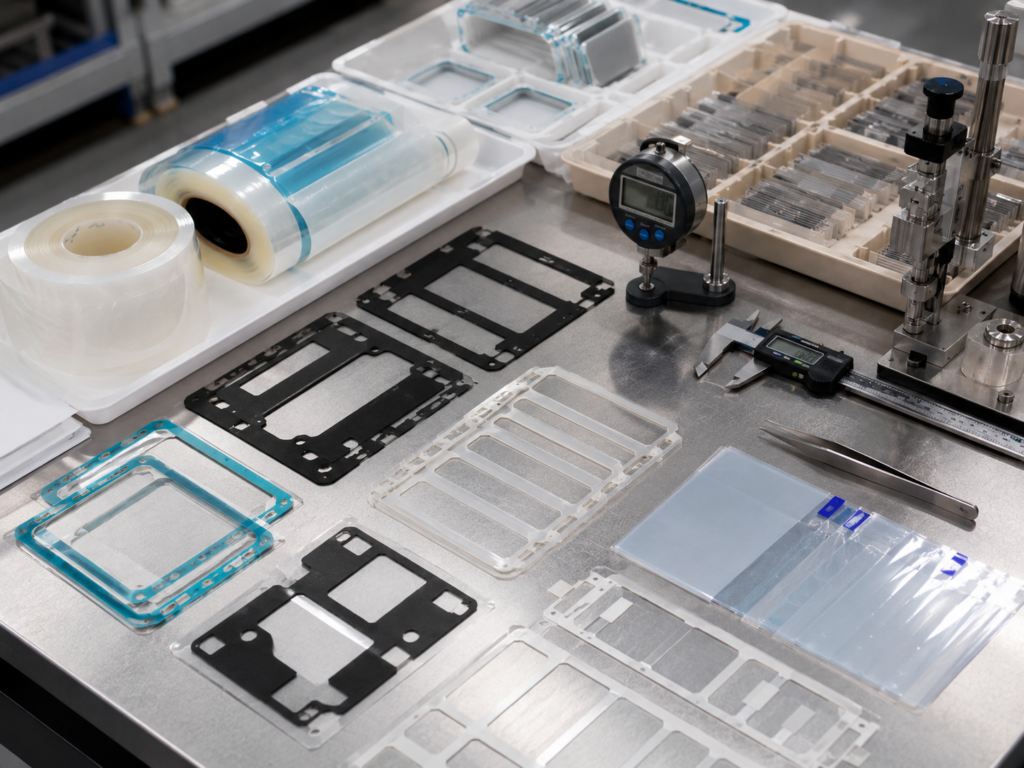
Die-cut tape parts are widely used in electronics, automotive interiors, appliances, displays, sensors, control panels, housings, and OEM assembly.
They may look simple.
A thin tape frame.
A foam tape gasket.
A PET-backed adhesive pad.
A protective film with a pull tab.
But when adhesive parts fail, the problem is rarely small.
Edge lift can affect bonding. Glue overflow can contaminate surfaces. Poor adhesion can cause parts to shift, peel, or fail after assembly.
At Sanken, we use precision die cutting and material converting to manufacture adhesive tape frames, foam tape parts, PET-backed adhesive components, protective films, transfer adhesive parts, and laminated tape structures for OEM production.
The key is not only cutting the tape into shape.
The real goal is to make the adhesive part bond cleanly, peel smoothly, stay flat, and survive real assembly conditions.
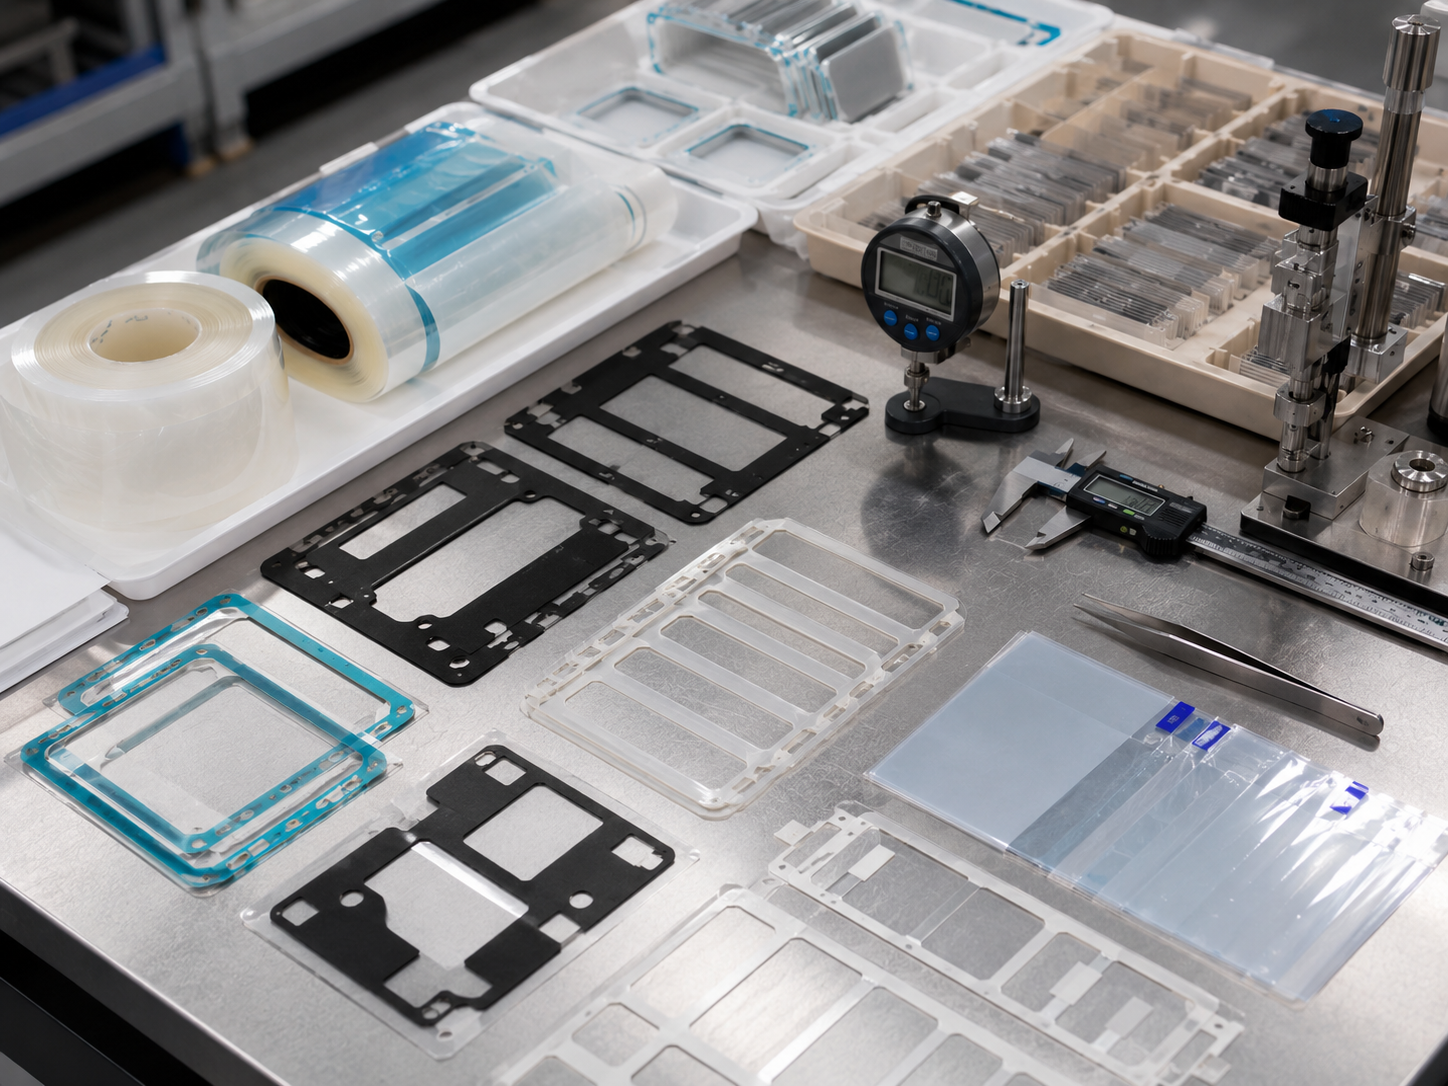
Why Die-Cut Tape Parts Fail
Most adhesive tape problems are caused by a mismatch between material, design, process, surface, and assembly conditions.
The tape may be good.
The design may be bad.
The adhesive may be strong.
The bonding surface may be wrong.
The cutting may be accurate.
The liner release may be difficult.
Adhesive parts fail when the whole structure is not considered together.
| Problem | Common Cause |
|---|---|
| Edge lift | Sharp corners, weak adhesive, poor surface contact, wrong liner release |
| Glue overflow | Excessive pressure, soft adhesive, poor cutting control, narrow walls |
| Adhesive failure | Wrong adhesive for bonding surface or temperature |
| Part shifting | Poor initial tack, wrong liner, weak positioning design |
| Difficult peeling | Incorrect release liner or small pull area |
| Deformation | Soft material, narrow shape, poor packaging |
| Surface contamination | Dust, particles, adhesive residue, poor handling |
For custom die cut parts, adhesive performance depends on both material selection and manufacturability.
A good tape part must work before, during, and after assembly.
Start With the Bonding Surface
Adhesive selection should always start with the bonding surface.
Plastic, metal, glass, rubber, foam, painted surfaces, coated parts, and textured panels do not bond the same way.
Some surfaces have high surface energy and bond easily.
Some plastics have low surface energy and need special adhesive or surface treatment.
Common bonding surfaces include:
| Bonding Surface | What to Check |
|---|---|
| Plastic housing | ABS, PC, PP, PE, surface texture |
| Metal part | Aluminum, steel, painted metal, coating |
| Glass panel | Cleanliness, coating, assembly pressure |
| Foam surface | Porosity, compression, adhesive compatibility |
| Rubber surface | Surface energy and possible migration |
| Painted surface | Paint type, curing condition, surface cleanliness |
| Film surface | PET, PI, PC, protective coating |
If the surface is dusty, oily, textured, curved, or poorly cleaned, even a good adhesive may fail.
Before production, buyers should confirm the real bonding surface, not only the product category.
“Plastic” is not enough.
The adhesive wants details.
Choose the Right Adhesive Structure
Different adhesive parts need different structures.
A thin transfer adhesive may be suitable for flat bonding.
A foam tape may be better when cushioning or gap compensation is needed.
A PET-backed adhesive part may improve dimensional stability.
| Adhesive Structure | Best Used For |
|---|---|
| Double-sided tape | General bonding and mounting |
| Transfer adhesive | Thin bonding with minimal thickness |
| Foam tape | Bonding with cushioning and gap filling |
| Acrylic foam tape | Strong bonding and gap compensation |
| PET-backed adhesive tape | Better shape stability and handling |
| Adhesive-backed foam | Sealing, cushioning, and positioning |
| Protective film with adhesive | Temporary surface protection |
| Laminated tape structure | Combined bonding, insulation, and protection |
For adhesive-backed foam, film, and tape projects, roll-to-roll die cutting can improve part consistency, spacing, liner control, and production efficiency.
The adhesive structure should match the application.
Not the other way around.
How to Avoid Edge Lift
Edge lift often happens at corners, narrow strips, curved areas, or stressed bonding zones.
It may appear immediately after assembly.
Or worse, it may appear after heat aging, vibration, shipping, or customer use.
Common causes include:
- Sharp corners
- Too narrow adhesive width
- Wrong adhesive for the surface
- Low bonding pressure
- Poor surface cleaning
- High material stiffness
- Curved or uneven bonding surface
- Poor liner release causing part stretch
- Packaging deformation before use
Design improvements can reduce edge lift.
| Design Point | Recommendation |
|---|---|
| Corner shape | Use rounded corners instead of sharp corners |
| Tape width | Avoid extremely narrow bonding walls |
| Pull tab | Add enough handling area for stable peeling |
| Part spacing | Leave enough spacing on liner for easy removal |
| Material stiffness | Use backing film or softer structure when needed |
| Adhesive area | Make sure bonding area is large enough |
| Assembly pressure | Confirm real pressing method during production |
For thin adhesive frames, corner radius is especially important.
A sharp corner looks clean in CAD.
In production, it may become the first place to lift.
Small corner.
Big attitude.
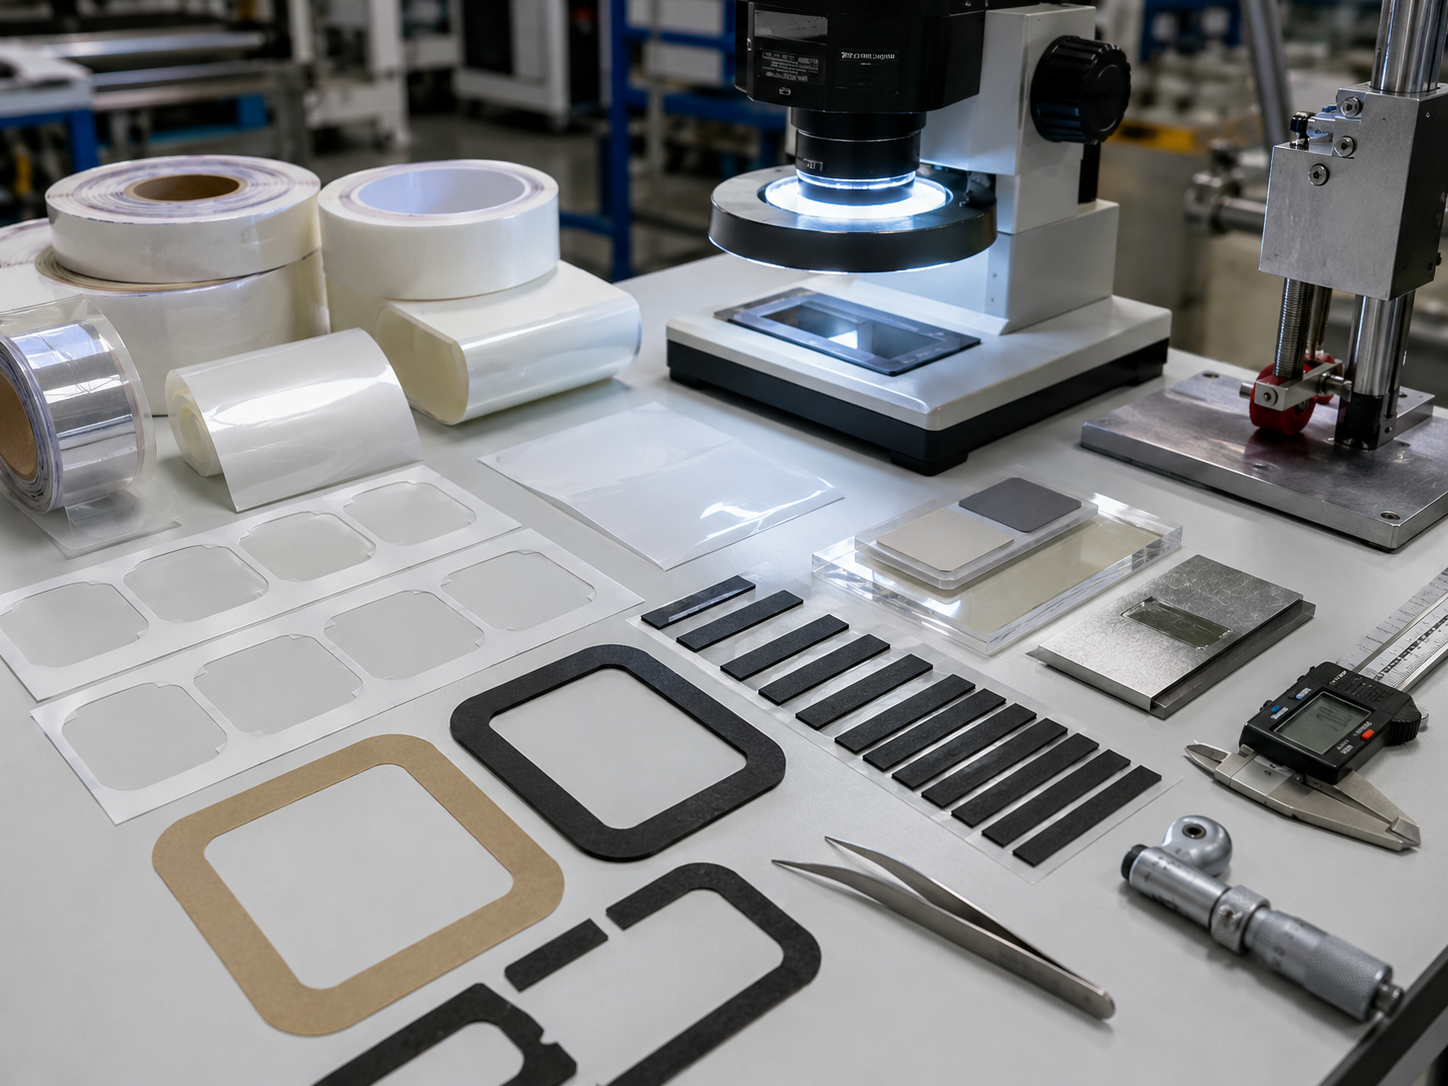
How to Prevent Glue Overflow
Glue overflow happens when adhesive squeezes beyond the edge of the part.
It can contaminate display surfaces, housings, decorative panels, optical films, sensors, control panels, and packaging liners.
Common causes include:
| Cause | Result |
|---|---|
| Adhesive too soft | Glue flows under pressure |
| Excessive assembly pressure | Adhesive squeezes out |
| Wrong adhesive thickness | Too much adhesive volume |
| Poor die cutting control | Adhesive edge is not clean |
| Narrow part design | Adhesive has little support area |
| Heat exposure | Adhesive softens and moves |
| Poor waste removal | Adhesive stretches or pulls |
To reduce glue overflow, we usually review adhesive thickness, backing material, cutting method, die clearance, waste removal direction, liner choice, and assembly pressure.
For sensitive applications, PET-backed adhesive tape can provide better dimensional stability than unsupported adhesive.
For display or optical-related parts, glue overflow must be controlled carefully because contamination may become visible.
A little adhesive in the wrong place is not “extra bonding.”
It is a defect.
Control Liner Release and Peeling
The release liner is not just packaging.
It affects how the operator removes the part and applies it to the product.
Poor liner release can cause:
- Part stretching
- Edge lifting before application
- Adhesive deformation
- Difficult peeling
- Slower assembly
- Misalignment
- Contamination from hand contact
Important liner details include:
| Liner Requirement | Why It Matters |
|---|---|
| Release force | Controls peeling difficulty |
| Liner thickness | Affects handling stability |
| Film or paper liner | Affects flatness and cleanliness |
| Single or double liner | Affects assembly method |
| Pull tab design | Improves manual handling |
| Part spacing | Helps operators peel parts smoothly |
| Roll direction | Supports automated application |
For adhesive tape frames, foam tape gaskets, and protective films, kiss cutting is often used.
The part is cut while the release liner remains intact.
This helps improve handling, peeling, and assembly organization.
For more details, buyers can review Die Cut vs Kiss Cut: What OEM Buyers Should Know for Adhesive Parts and Protective Films.
Use the Right Die Cutting Method
Different adhesive materials behave differently during cutting.
Transfer adhesives can stretch.
Foam tapes can compress.
PET-backed tapes may hold shape better.
Protective films may curl or scratch.
Foam tape can deform if pressure is not controlled.
A typical adhesive die cutting process includes:
| Process Step | Purpose |
|---|---|
| Application review | Confirm bonding surface, function, and assembly method |
| Material selection | Choose tape, foam, film, adhesive, and liner |
| Lamination | Combine adhesive, film, foam, liner, or protective layer |
| Tooling design | Control shape, radius, spacing, and cutting depth |
| Kiss cutting | Cut adhesive part while keeping liner intact |
| Waste removal | Remove extra adhesive cleanly |
| Inspection | Check size, edge, adhesive position, and liner release |
| Packaging | Prevent sticking, deformation, dust, and compression marks |
For adhesive-backed parts, cutting depth is very important.
If the cut is too shallow, waste removal may fail.
If the cut is too deep, the liner may be damaged.
If pressure is unstable, adhesive edges may deform.
This is why die cutting is not only “cutting.”
It is controlled converting.
Match Adhesive Parts to Assembly Conditions
A tape part that works in a sample room may fail on a production line if assembly conditions are different.
Important assembly factors include:
- Manual or automated application
- Pressing force
- Pressing time
- Surface cleaning method
- Temperature during application
- Storage time before use
- Curved or flat surface
- Indoor or outdoor use
- Heat, humidity, vibration, or aging exposure
For electronics, display, automotive, and appliance assembly, adhesive parts should be tested under realistic conditions.
If the final product faces heat, vibration, humidity, or long-term compression, the adhesive structure must be selected accordingly.
For automotive interiors, automotive die cut components often need to resist vibration, temperature changes, and repeated handling.
For display or optical applications, optical film die cut components also require clean surfaces, accurate adhesive positioning, and careful packaging.
Packaging Also Prevents Adhesive Failure
Packaging can protect adhesive parts or quietly ruin them.
Poor packaging can cause deformation, dust contamination, compression marks, liner damage, adhesive sticking, or part shifting.
Good packaging should match the material and assembly method.
| Packaging Format | Suitable Use |
|---|---|
| Sheets | Manual picking and organized assembly |
| Rolls | High-volume or automated application |
| Kiss-cut on liner | Adhesive frames, tape pads, foam tape parts |
| Pull-tab format | Easier manual peeling |
| Trays | Parts needing flatness protection |
| Bags | Simple protection for stable parts |
| Kits | Multi-part module assembly |
For assembly planning, this guide explains how die cut parts are supplied in sheets, rolls, or kits.
For soft foam tape parts, avoid packaging that compresses the foam before use.
For film adhesive parts, avoid dust, scratches, curling, and liner damage.
A perfect adhesive part can still fail if packaging treats it badly.
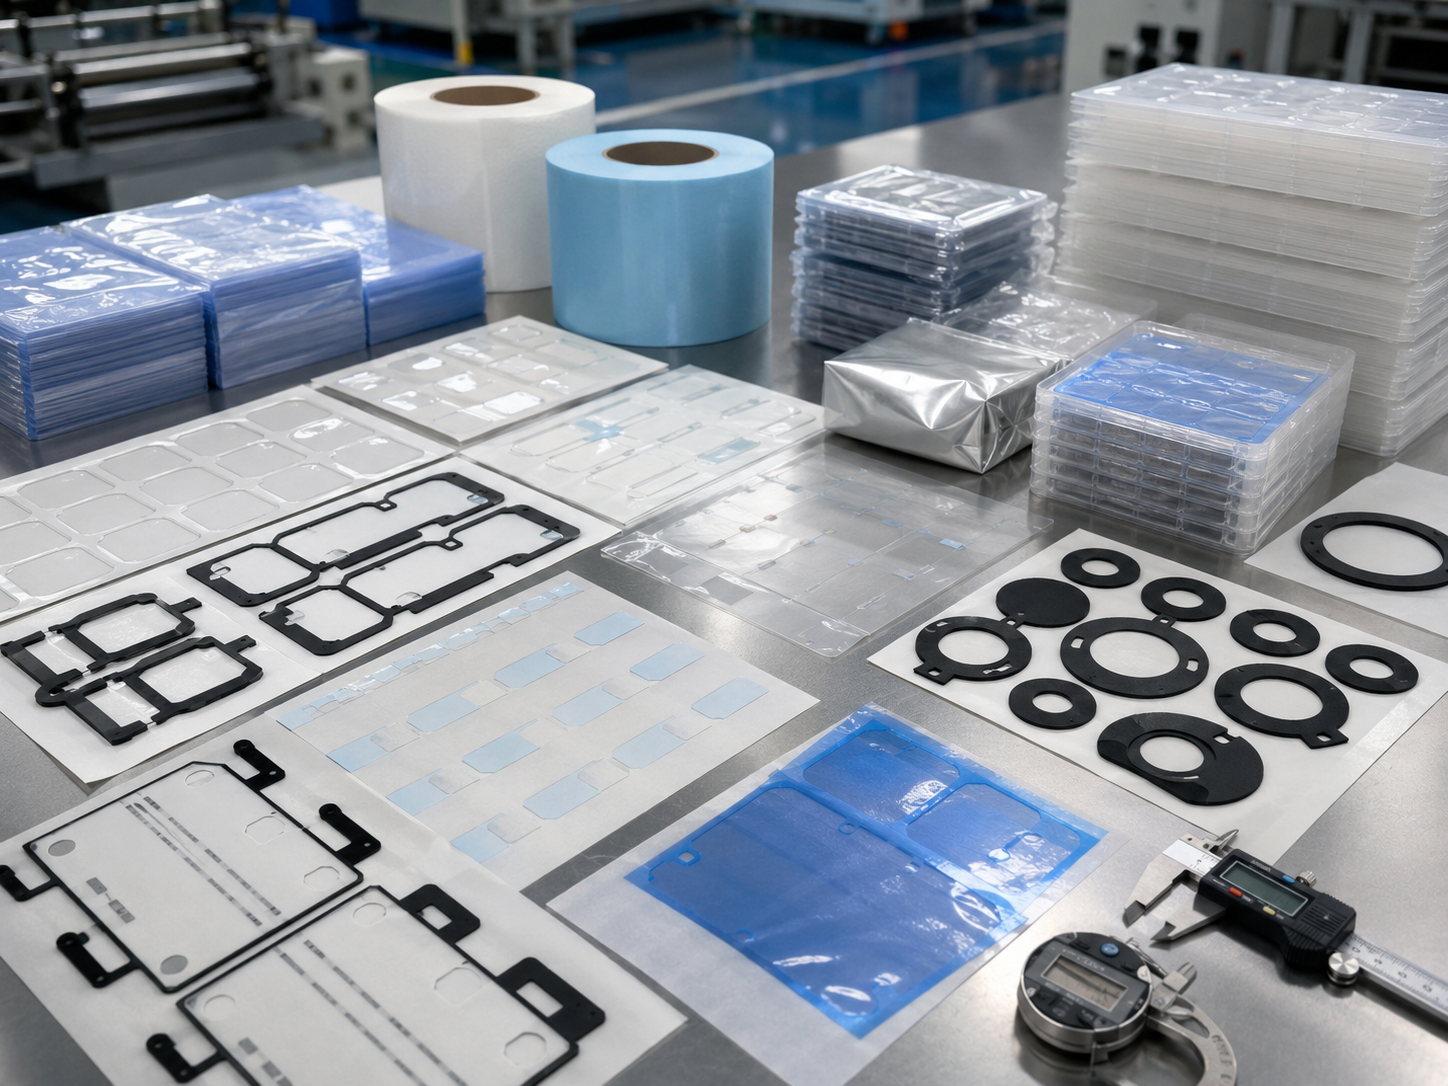
Quality Checks Before Mass Production
To avoid edge lift, glue overflow, and adhesive failure, sample approval is only the first step.
Mass production must stay consistent.
Important checks include:
| Inspection Item | Why It Matters |
|---|---|
| Dimensions | Ensures correct fit |
| Adhesive position | Prevents shifting and poor bonding |
| Edge quality | Reduces glue overflow and burrs |
| Thickness | Controls bonding gap and compression |
| Liner release | Improves peeling and assembly speed |
| Peel strength | Confirms bonding performance |
| Surface cleanliness | Prevents contamination |
| Packaging condition | Prevents deformation before use |
For adhesive foam parts, compression and recovery may also need checking.
For protective films, residue and peeling behavior are important.
For optical or display parts, cleanliness and flatness become critical.
Buyer Checklist Before Quotation
To reduce adhesive problems before production, provide clear project information.
Helpful details include:
- Drawing or sample
- Application location
- Bonding surface
- Tape material preference
- Adhesive requirement
- Thickness and tolerance
- Liner requirement
- Pull tab requirement
- Manual or automated assembly
- Working temperature
- Heat or humidity exposure
- Vibration requirement
- Cleanliness requirement
- Annual volume
- Delivery format
- Packaging preference
If the tape material is not confirmed, Sanken can help compare double-sided tape, transfer adhesive, foam tape, acrylic foam tape, PET-backed adhesive tape, protective film, liner, and laminated structures.
For supplier selection, buyers can also review how to choose the right die cutting manufacturer before moving from sampling to mass production.
Need Die-Cut Tape Parts Without Edge Lift or Glue Overflow?
Edge lift, glue overflow, and adhesive failure can usually be reduced before mass production through better material selection, design review, liner planning, die cutting control, assembly testing, and packaging.
If you need adhesive tape frames, foam tape gaskets, PET-backed adhesive parts, transfer adhesive films, protective films with pull tabs, or laminated adhesive structures, send us your drawing, sample, bonding surface, material requirement, adhesive structure, tolerance, annual volume, and packaging preference.
Sanken can help review adhesive selection, die cutting method, liner release, edge design, inspection points, and delivery format before production.
Related Articles
You may also find these articles helpful:
- Why Do Die Cut Adhesive Parts Fail After Assembly?
- Why Your Die Cut Tape Parts Lift, Shift or Peel Off
- How to Prevent Adhesive Overflow in Custom Die Cut Tape Parts
- How to Prevent Adhesive Lifting in Die Cut Tape Components
- What Is the Best Adhesive for Die Cut Tape Parts?
- Die Cut vs Kiss Cut: What OEM Buyers Should Know for Adhesive Parts and Protective Films
- Adhesive Backed Die Cut Components for OEM Assembly
Conclusion
Edge lift, glue overflow, and adhesive failure in die-cut tape parts are usually caused by poor matching between adhesive, surface, design, liner, die cutting process, assembly conditions, and packaging. The best way to avoid these problems is to review the full structure before production, not after defects appear on the assembly line.